
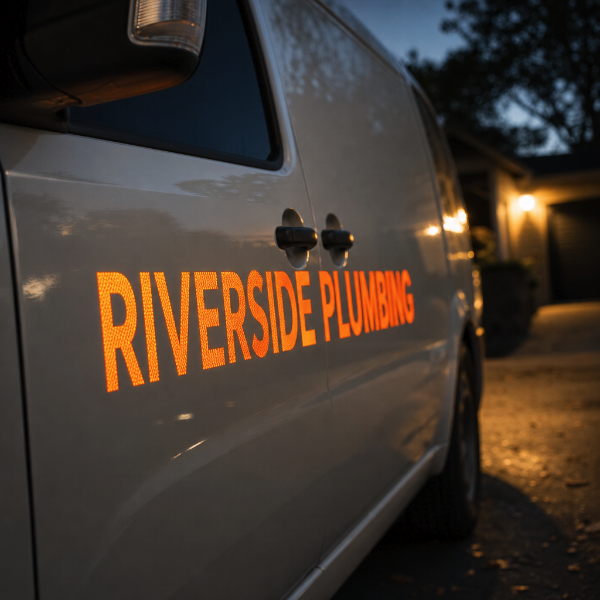
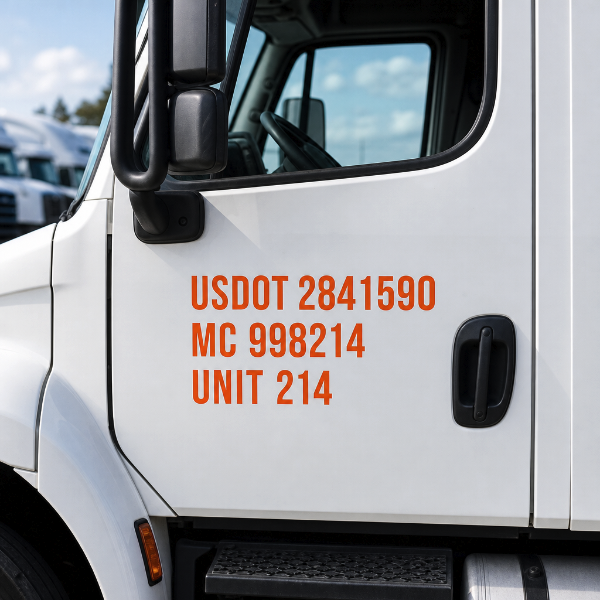
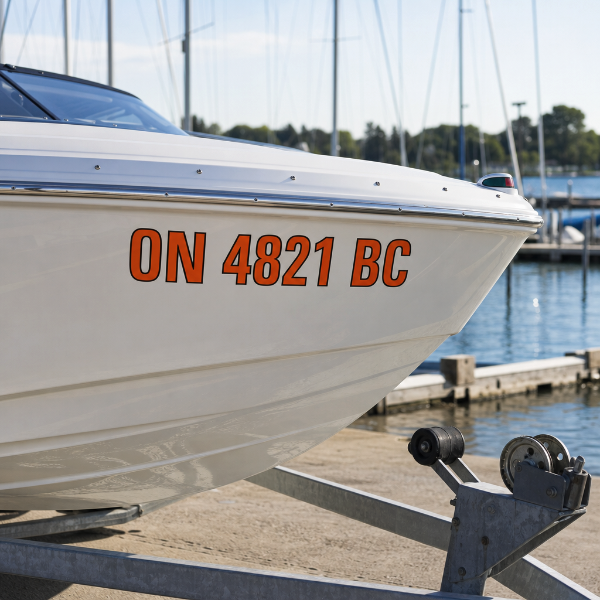
Cut and printed reflective lettering for trucks, trailers, service vans and emergency vehicles — unit and door numbers, USDOT and MC lines, company name and phone, and any wording that still has to be read after dark. The film sends headlight light straight back toward the driver behind you, so the letters flare brightly at night while reading as ordinary flat colour in daylight.
Printed on engineer-grade reflective vinyl with a permanent adhesive rated for vehicle exteriors, and ordered at whatever width and height the job needs rather than from a fixed size list. Reflective film is stiffer than ordinary wrap vinyl, so it belongs on flat or gently curved panels — doors, box sides, tailgates, trailer flanks — not stretched over deep rivets or sharp body creases.
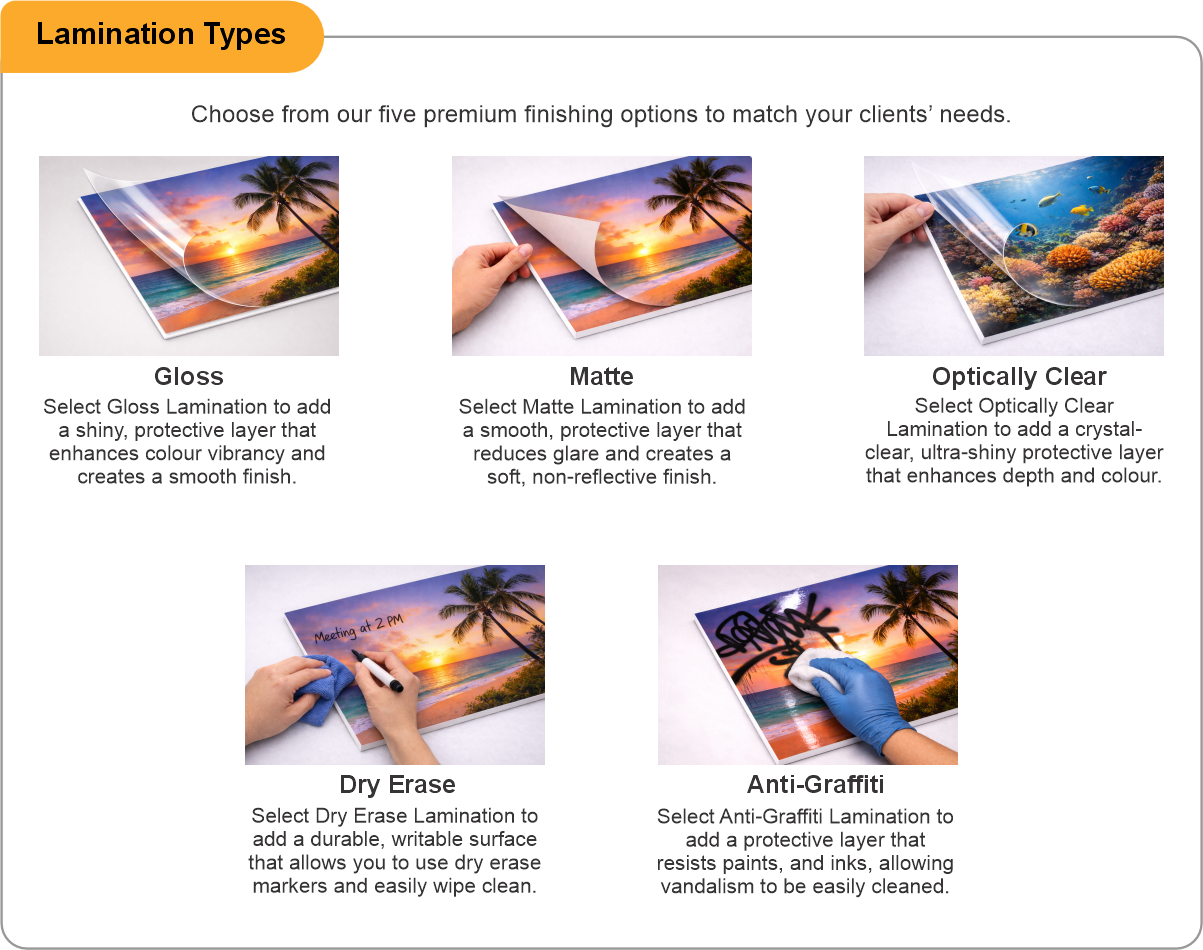
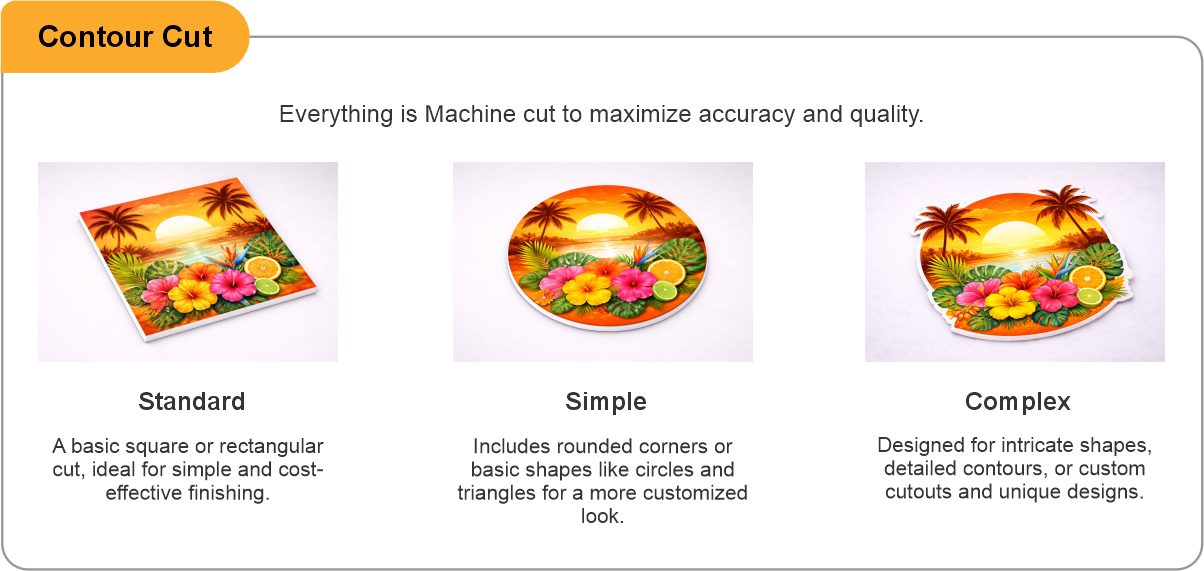
Choose a contour cut and each letter or shape is cut to its own outline and supplied weeded on backing paper with transfer tape over the face, ready to position and squeegee down in one piece. An optional gloss or anti-graffiti laminate adds a wipe-clean surface for vehicles that get pressure-washed or parked on the street — worth knowing that any laminate takes a little of the night-time brightness back, so leave lamination on None when maximum reflectivity is the whole point of the job.
- Use the product template or file setup guide when one is provided.
- Remove all hidden layers, guides, dielines or artwork that is not intended to print.
- Submit each project as a single, print-ready PDF. For multi-page files, all pages should be the same size and placed in the correct order.
- Make sure the file dimensions and orientation match the product being ordered.
- Avoid placing borders too close to the finished edge, as minor movement during trimming may make them appear uneven.
- For bleed, follow the margins provided in the product template. Keep important text, logos and design elements safely inside the trim line.
- Artwork should be high resolution, set to CMYK and supplied at 300 DPI whenever possible.
- Use C0, M0, Y0, K100 for small black text. For larger areas of deep black, use C30, M20, Y20, K100.
- Convert all fonts to outlines or ensure they are properly embedded in the PDF.
- Review your artwork carefully before uploading. Files are printed using the information provided, and colour may appear differently on screen than it does in print.
To start, select the product size, preview the design guidelines, download the guidelines for reference, and proceed with the customization options.
Reflective Vehicle Lettering (Safety Vehicle Graphics)
Customize & Estimate
Explore Complements
Related products
Enhance your experience with perfectly paired, high-quality related products.

 Issue?