
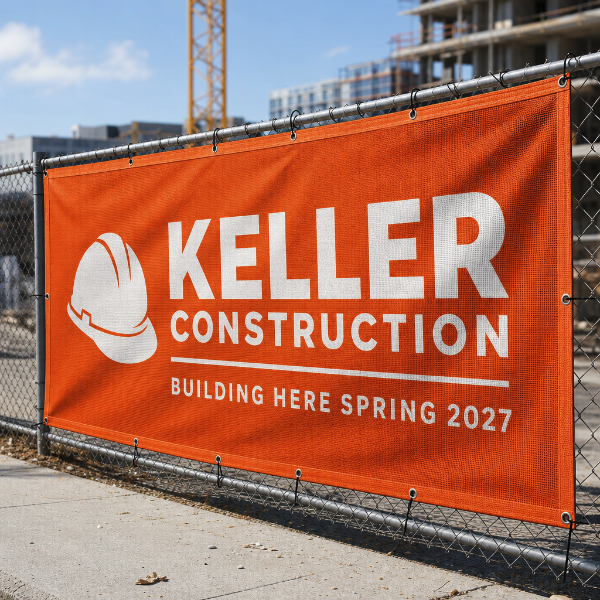
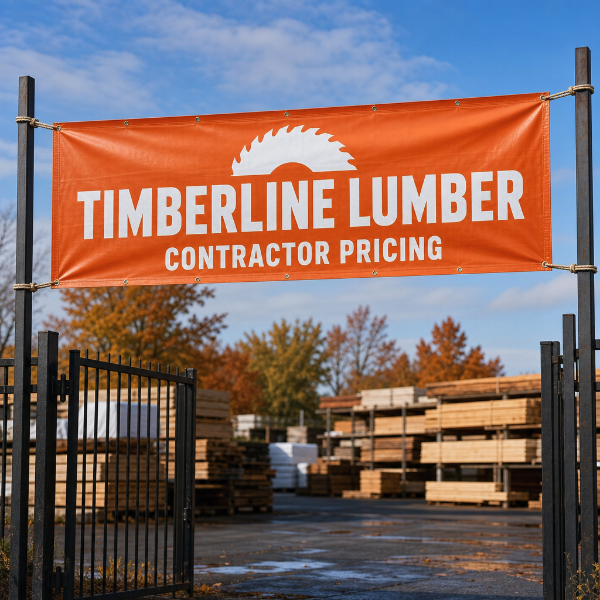
Mesh fence banners are built for chain-link fence, scaffold and site hoarding — anywhere wind would tear a solid banner down. The woven vinyl has an open weave, so air passes straight through instead of pushing against the face. A solid banner in the same spot acts like a sail: it bows, strains the ties, and eventually tears at the grommets or takes a section of fence with it.
Because the weave is open the print reads slightly softer up close, which is the trade. At the distance these are actually viewed from — across a parking lot, from a passing car, from the far side of a job site — it is not something anyone notices. Colour stays strong and legible outdoors through multiple seasons.
Common uses: construction hoarding and site fencing, sports field and arena sponsor boards, event and festival perimeters, and development sites advertising what is coming.
Fasten at every grommet rather than just the corners — the load spreads and the banner sits flat instead of drumming. For spans wider than about 10 feet, choose grommets every 2 feet. Mesh prints single sided; if you need a graphic read from both sides, use an 18oz double sided banner and plan for wind.
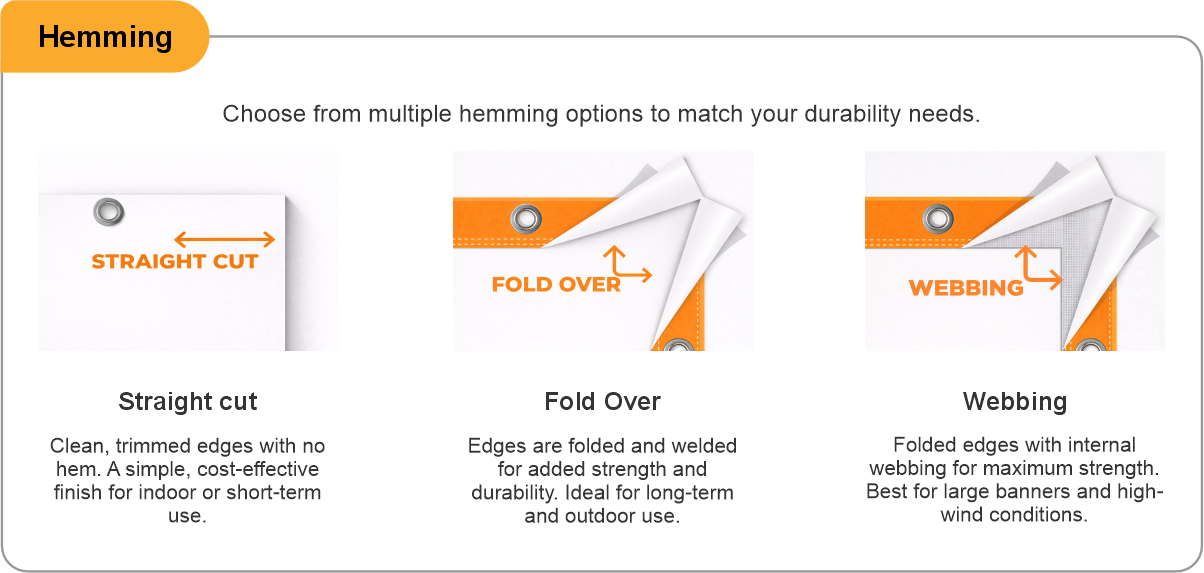
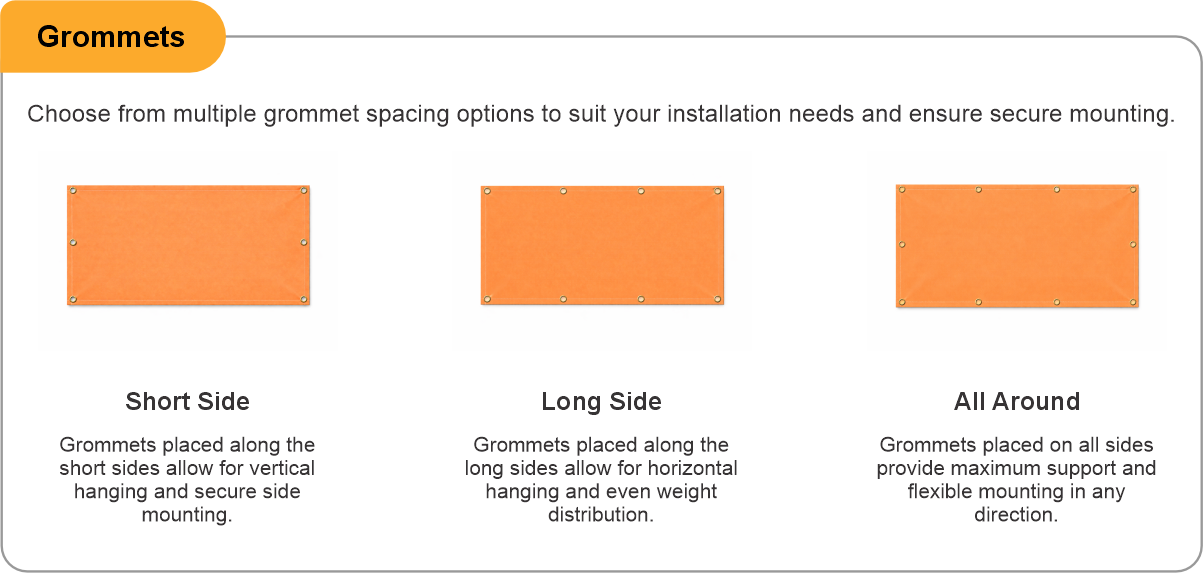
- Use the product template or file setup guide when one is provided.
- Remove all hidden layers, guides, dielines or artwork that is not intended to print.
- Submit each project as a single, print-ready PDF. For multi-page files, all pages should be the same size and placed in the correct order.
- Make sure the file dimensions and orientation match the product being ordered.
- Avoid placing borders too close to the finished edge, as minor movement during trimming may make them appear uneven.
- For bleed, follow the margins provided in the product template. Keep important text, logos and design elements safely inside the trim line.
- Artwork should be high resolution, set to CMYK and supplied at 300 DPI whenever possible.
- Use C0, M0, Y0, K100 for small black text. For larger areas of deep black, use C30, M20, Y20, K100.
- Convert all fonts to outlines or ensure they are properly embedded in the PDF.
- Review your artwork carefully before uploading. Files are printed using the information provided, and colour may appear differently on screen than it does in print.
To start, select the product size, preview the design guidelines, download the guidelines for reference, and proceed with the customization options.
Mesh Fence & Construction Banners (Outdoor)
Customize & Estimate
Explore Complements
Related products
Enhance your experience with perfectly paired, high-quality related products.

 Issue?