

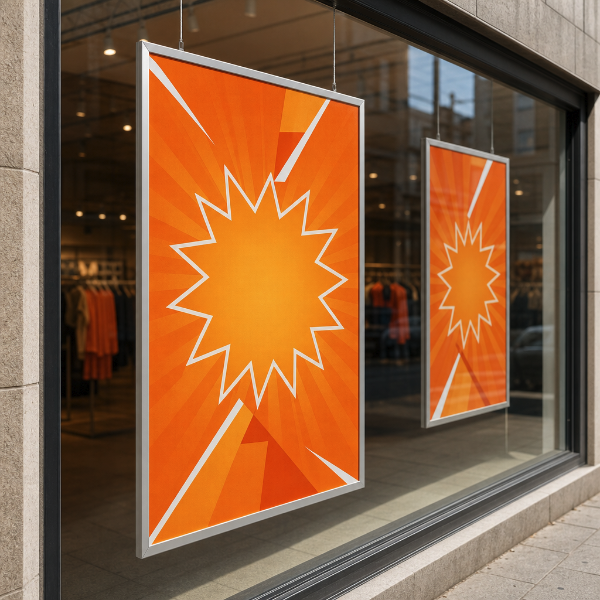
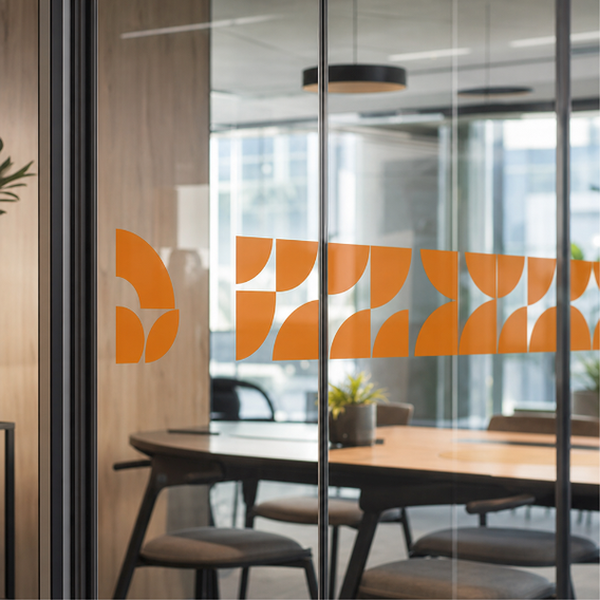
Printed window graphics for promotions that are meant to come down again: a seasonal campaign, a sale, an opening announcement, a new-product takeover, a message that runs for a month and then makes way for the next one. They go on shopfront glass, interior partitions, glass doors and display windows.
Be clear about what this is, because the name suggests something it is not. This is a removable adhesive vinyl, not a static cling. There is no suction or static involved. It is a printed film with an adhesive chosen so that it holds properly and lifts off cleanly at the end of the campaign — which means it will not curl at the corners, slide down warm glass or fall off overnight the way a cling can. It also means it is applied once: unlike a cling, it is not made to be peeled off, stored in a drawer and put back up next season.
Two films. 3M-IJ35 is an opaque white print film — the graphic reads as a solid printed panel on the glass and you cannot see through the printed area, which is what you want when the artwork has to hold its own against a bright street. Optically Clear Vinyl is a clear film where only the ink is visible, so the glass still reads as glass everywhere your artwork is not.
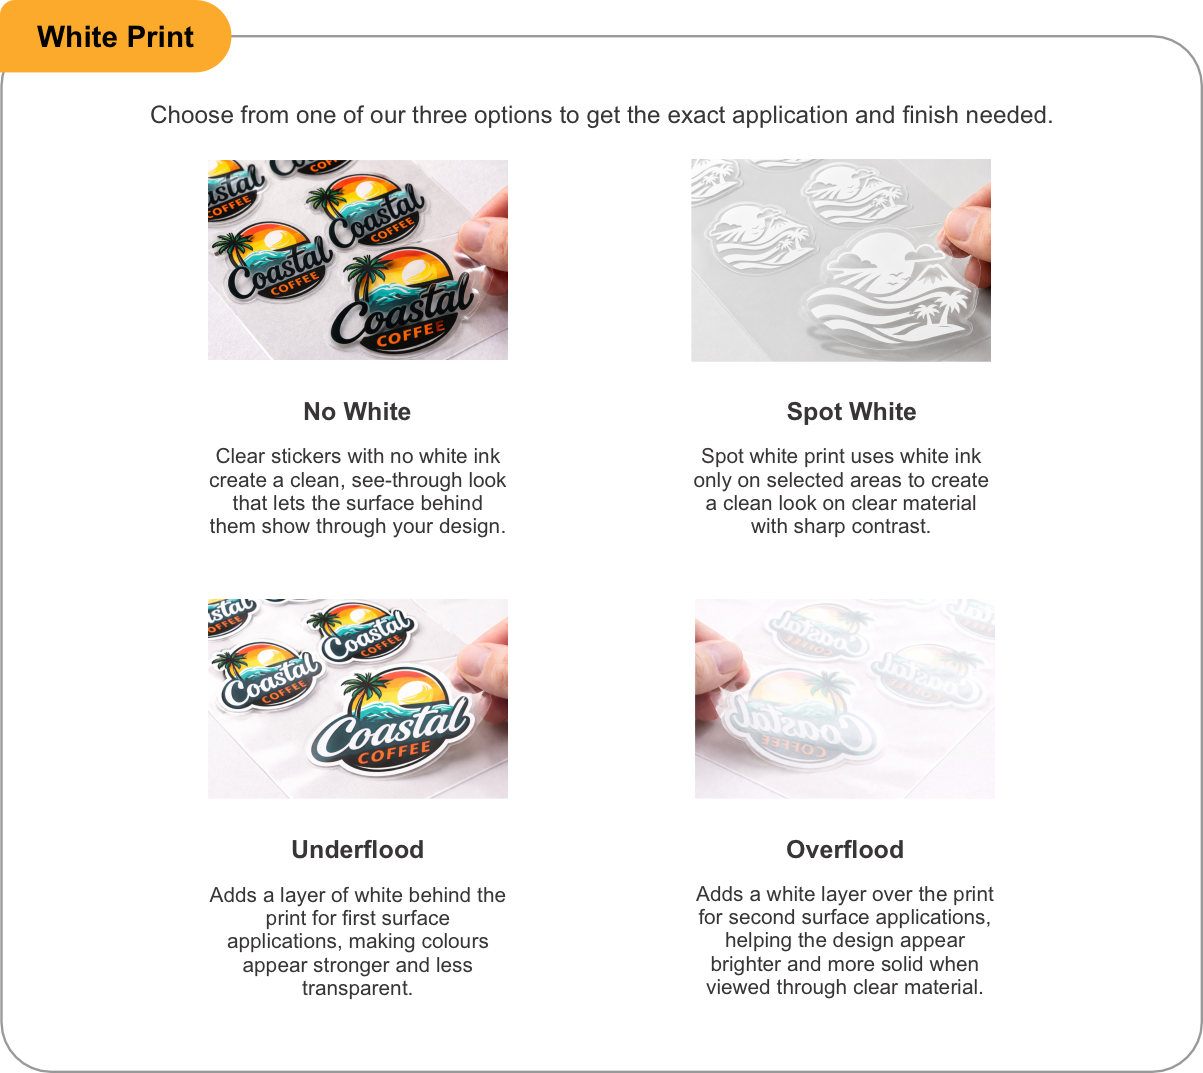
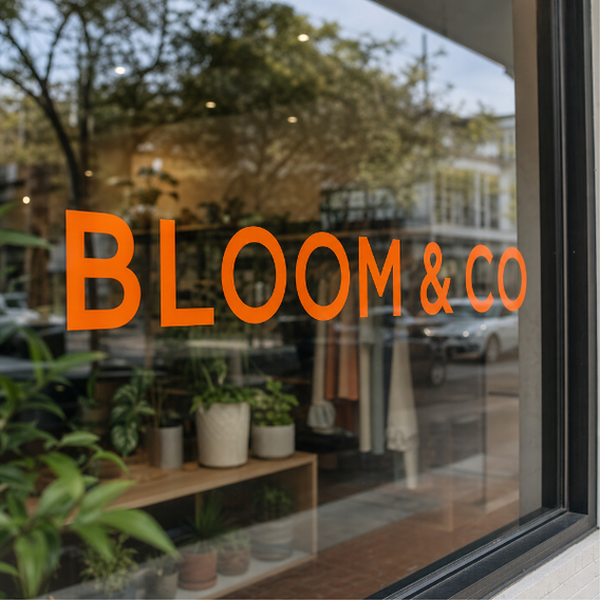
On the clear film two extra choices matter. Reverse Printed mirrors the artwork so the graphic can be applied to the inside face of the glass and still read correctly from outside — the glass then takes the weather, the cleaning and the fingerprints instead of the print. Printed White lays a white ink layer beneath the colours so they stay solid rather than going weak and transparent against a dark interior. Neither does anything useful on the opaque white film, so choose the film first.
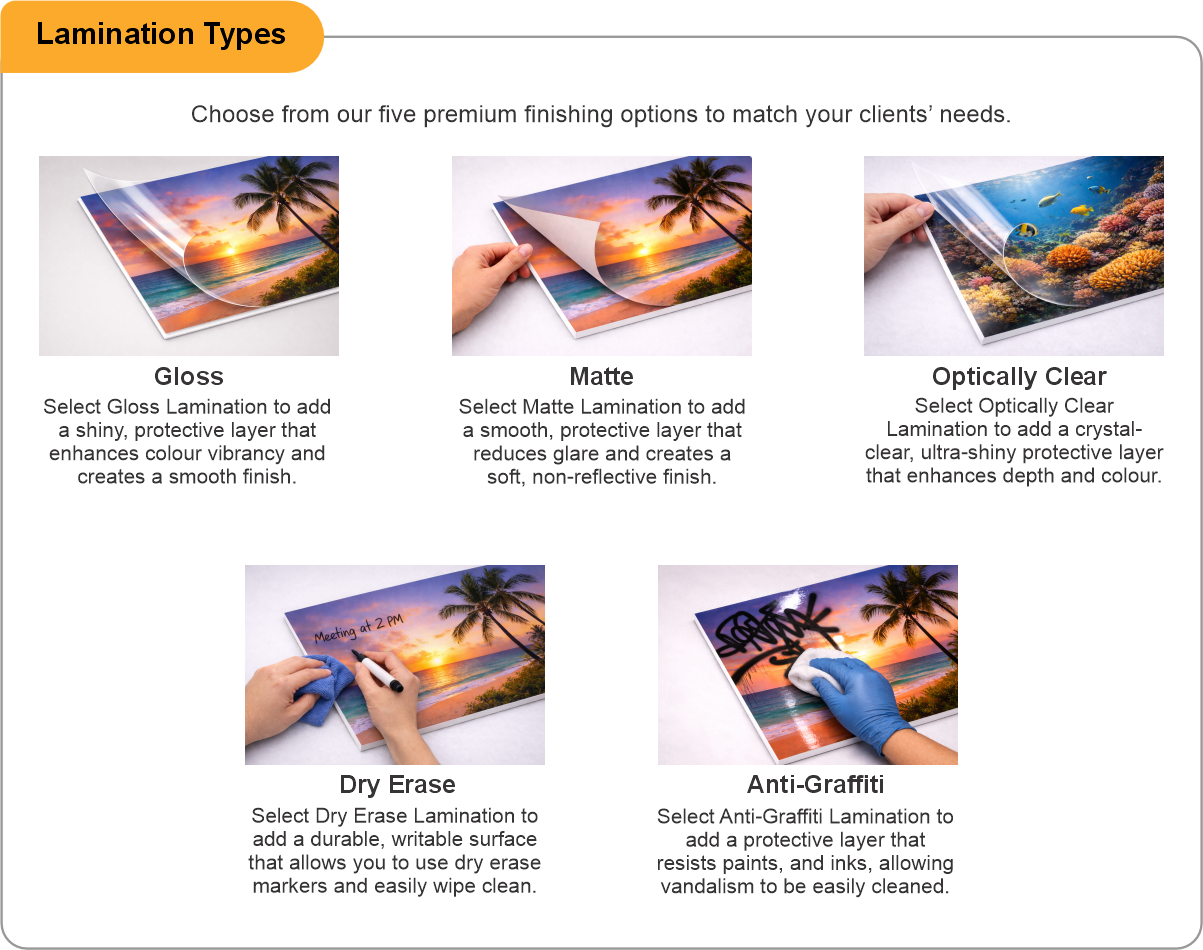
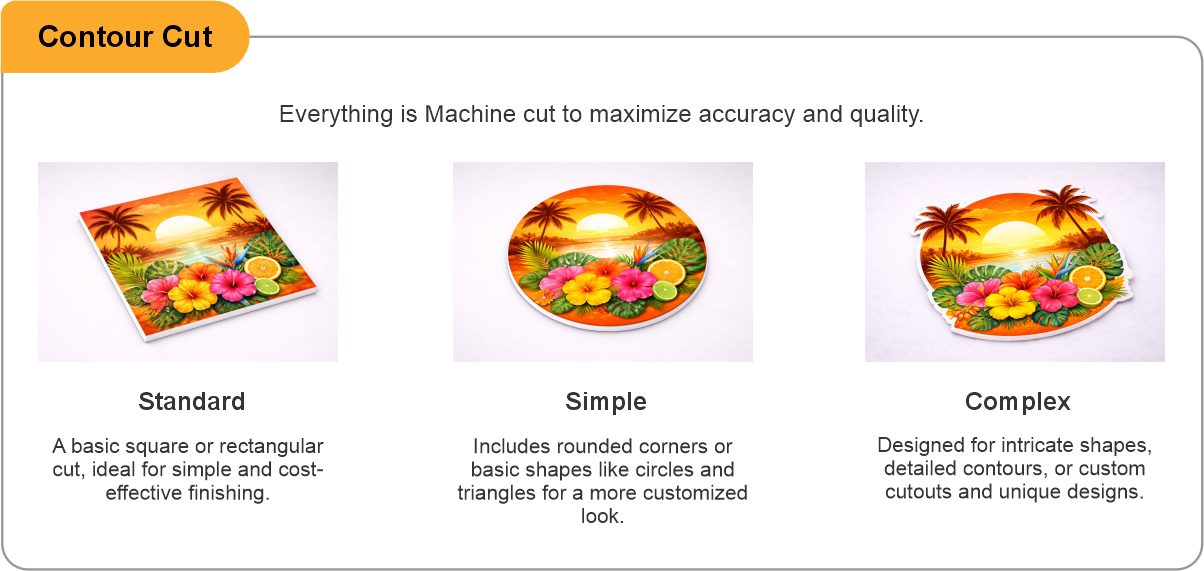
Lamination is available in gloss, matte, optically clear, dry erase or anti-graffiti, and contour cut handles graphics that are a shape rather than a rectangle. Order by entering the width and height of the glass area you want covered — measure the visible glass, not the frame. What arrives is the printed film itself, cut to the size you ordered and supplied on its backing sheet ready to apply; installation is not included.
Application needs glass that is clean, dry and above about 10 degrees Celsius; a cold window in January will not bond properly until it is warmed. Textured, frosted, leaded and wired glass are all poor candidates. Removability is easiest within the film's intended life — leave a graphic up for several years in direct sun and expect it to come off in pieces and to need adhesive remover.
- Use the product template or file setup guide when one is provided.
- Remove all hidden layers, guides, dielines or artwork that is not intended to print.
- Submit each project as a single, print-ready PDF. For multi-page files, all pages should be the same size and placed in the correct order.
- Make sure the file dimensions and orientation match the product being ordered.
- Avoid placing borders too close to the finished edge, as minor movement during trimming may make them appear uneven.
- For bleed, follow the margins provided in the product template. Keep important text, logos and design elements safely inside the trim line.
- Artwork should be high resolution, set to CMYK and supplied at 300 DPI whenever possible.
- Use C0, M0, Y0, K100 for small black text. For larger areas of deep black, use C30, M20, Y20, K100.
- Convert all fonts to outlines or ensure they are properly embedded in the PDF.
- Review your artwork carefully before uploading. Files are printed using the information provided, and colour may appear differently on screen than it does in print.
To start, select the product size, preview the design guidelines, download the guidelines for reference, and proceed with the customization options.
Removable Window Graphics (Indoor)
Customize & Estimate
Explore Complements
Related products
Enhance your experience with perfectly paired, high-quality related products.


 Issue?