
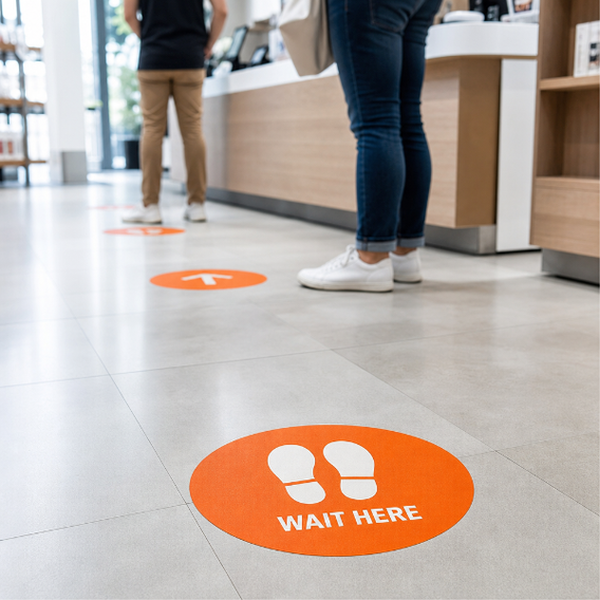
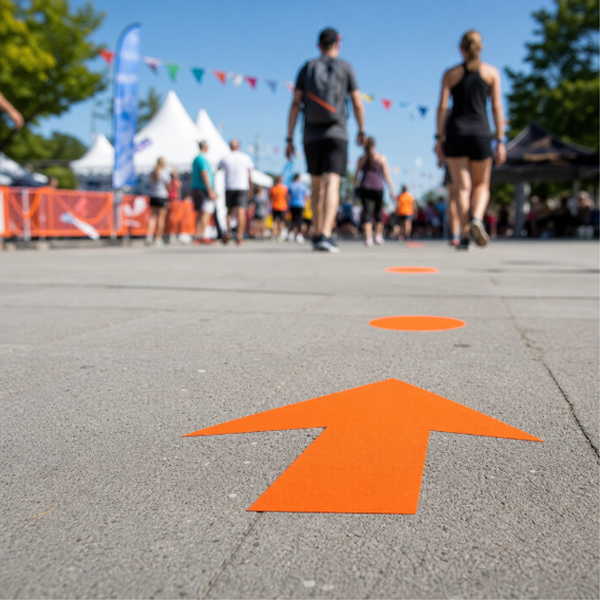
Spacing and position markers for anywhere people form a line. Wait-here spots, next-customer markers, numbered stand-here positions, footprints, or a simple branded circle repeated down a floor at a fixed interval. Common at tills and service counters, pharmacy and box-office windows, polling stations, boarding gates and event entrances, anywhere a queue needs to organise itself without a member of staff standing there directing it.
Supplied as full-colour printed self-adhesive vinyl, cut to the size you specify, on 3M-40C or 3M-IJ175. Both are opaque white print films for smooth, hard, sealed surfaces. What you are ordering is a printed vinyl decal, a marker that tells people where to stand, rather than a matting or tread product.
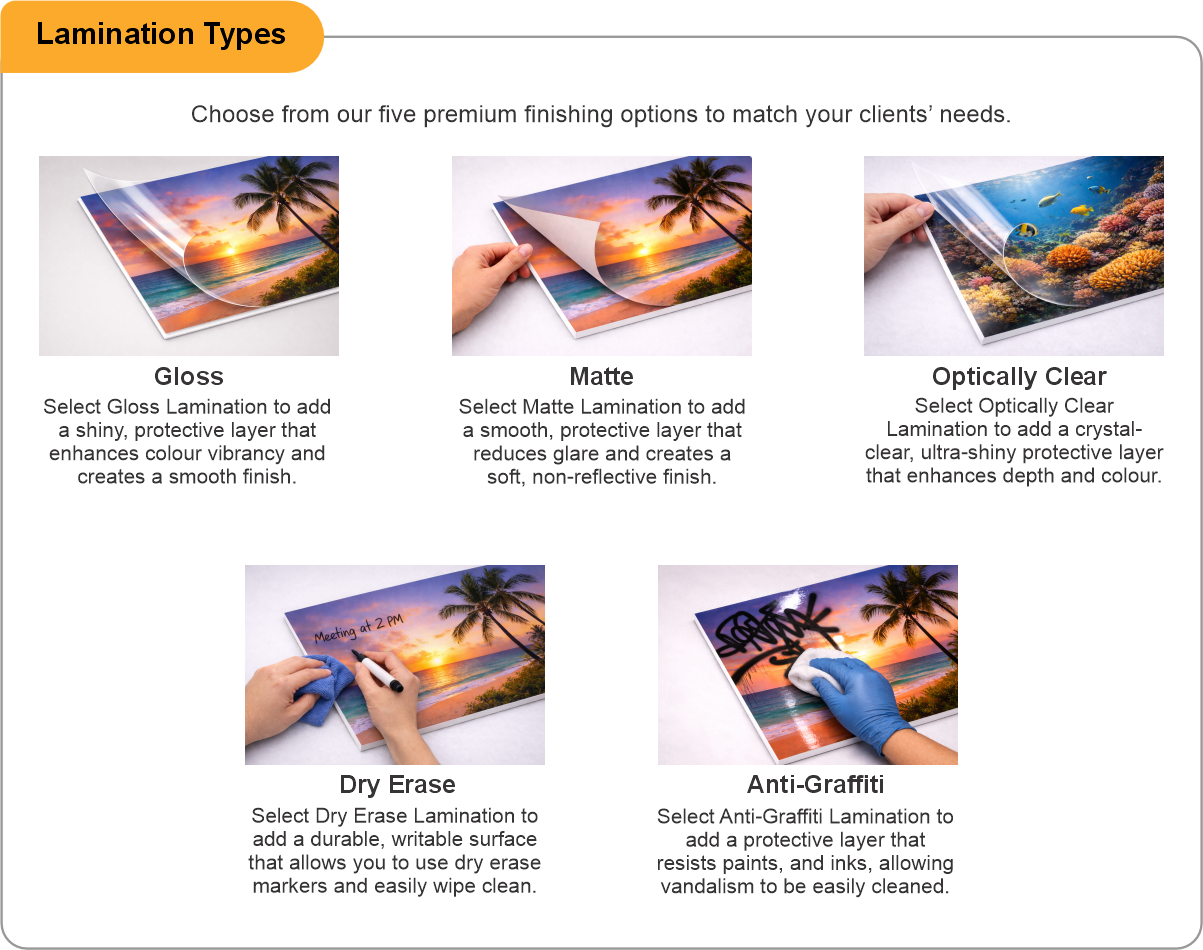
A laminate is worth adding because queue markers take unusually concentrated wear: everybody stands on the same spot, repeatedly, all day. The clear laminate layer takes that abrasion instead of the ink. Matte is the usual indoor choice for glare. Note that no laminate option here is a rated anti-slip surface; it protects the print and does not change the floor's grip.
Best on smooth, sealed, clean indoor floors. Carpet will not hold them. Entrance areas that get wet or gritty in winter are the hardest environment for any floor decal, and markers placed just inside a door will wear fastest, so plan on replacing those sooner than the rest of the set.
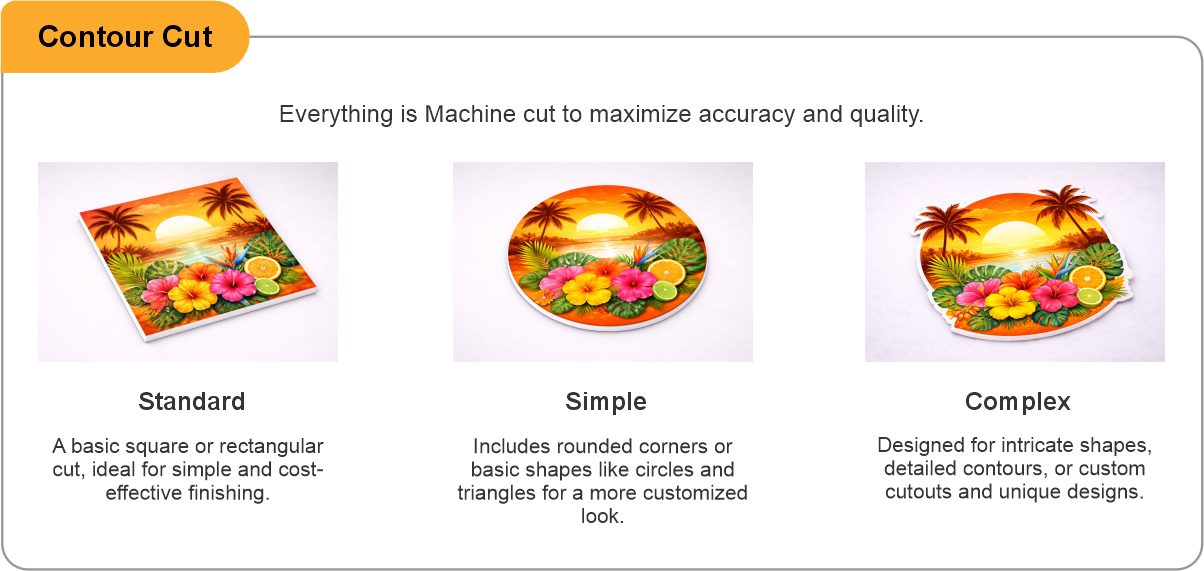
Contour cut is available for circles, footprints and other shaped markers.
- Use the product template or file setup guide when one is provided.
- Remove all hidden layers, guides, dielines or artwork that is not intended to print.
- Submit each project as a single, print-ready PDF. For multi-page files, all pages should be the same size and placed in the correct order.
- Make sure the file dimensions and orientation match the product being ordered.
- Avoid placing borders too close to the finished edge, as minor movement during trimming may make them appear uneven.
- For bleed, follow the margins provided in the product template. Keep important text, logos and design elements safely inside the trim line.
- Artwork should be high resolution, set to CMYK and supplied at 300 DPI whenever possible.
- Use C0, M0, Y0, K100 for small black text. For larger areas of deep black, use C30, M20, Y20, K100.
- Convert all fonts to outlines or ensure they are properly embedded in the PDF.
- Review your artwork carefully before uploading. Files are printed using the information provided, and colour may appear differently on screen than it does in print.
To start, select the product size, preview the design guidelines, download the guidelines for reference, and proceed with the customization options.
Queue / Distancing Markers (Safety Graphics)
Customize & Estimate
Explore Complements
Related products
Enhance your experience with perfectly paired, high-quality related products.



 Issue?