
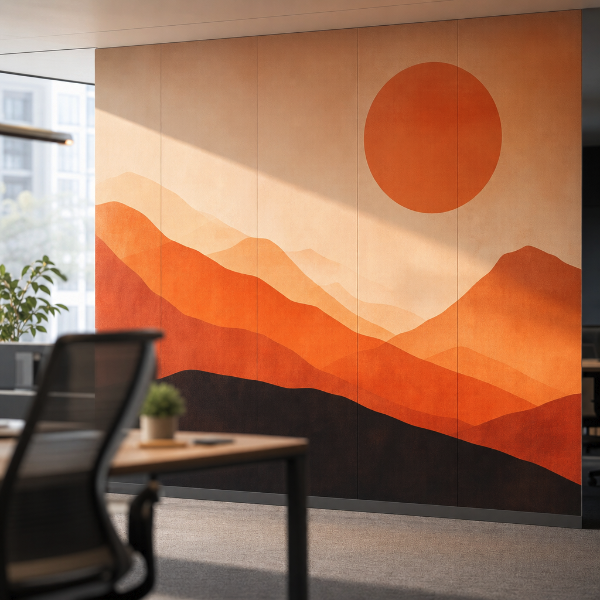
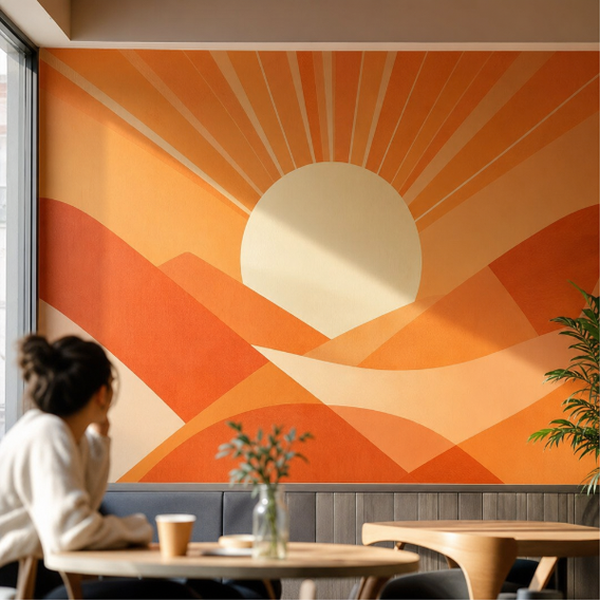
Full-wall murals supplied as a set of vertical panels rather than one unmanageable sheet. Give us the finished wall width and height and the artwork is split into strips sized to be hung in sequence and matched at the seams — which is what makes a large mural a two-person job with a squeegee instead of a specialist installation.
Printed on self-adhesive wall vinyl in two grades. 3M IJ-35 is the wall-safe choice for a mural that has to come down cleanly at the end of a lease, a campaign or a season. 3M IJ-175 is the durable option for a long-term installation on a wall that gets touched, cleaned and knocked. Both need a sound, smooth, fully cured painted surface — vinyl will not hold on textured, chalky or freshly painted walls, and that is the single most common reason a mural fails.
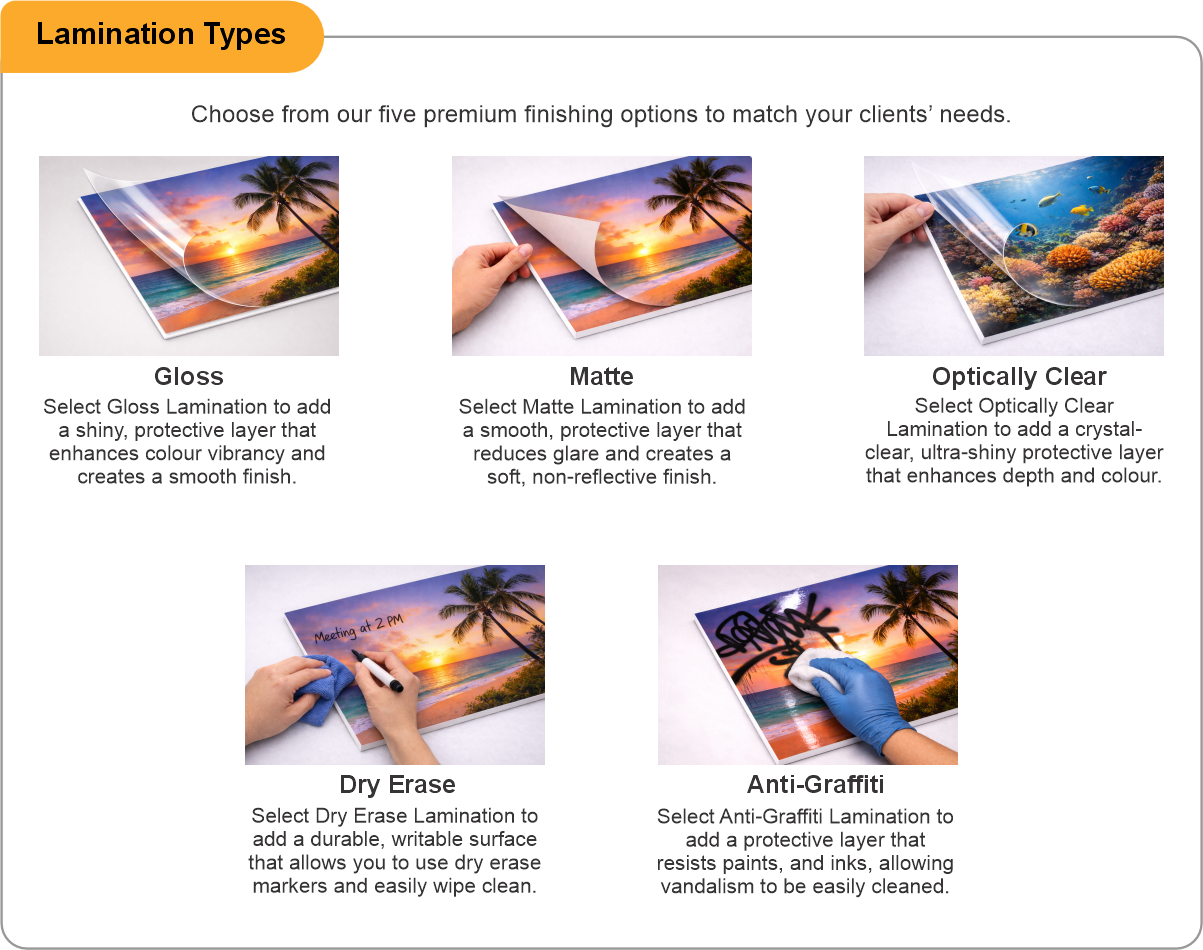
Add a laminate over the print where the wall is in traffic: gloss for depth, matte to stop downlights bouncing off the artwork, anti-graffiti where the surface has to be scrubbed. Leave it on None for a quiet feature wall. You receive the mural as printed, trimmed panels ready to hang in order — hang the first panel plumb rather than to the corner of the room, because every panel after it lines up to that one.
- Use the product template or file setup guide when one is provided.
- Remove all hidden layers, guides, dielines or artwork that is not intended to print.
- Submit each project as a single, print-ready PDF. For multi-page files, all pages should be the same size and placed in the correct order.
- Make sure the file dimensions and orientation match the product being ordered.
- Avoid placing borders too close to the finished edge, as minor movement during trimming may make them appear uneven.
- For bleed, follow the margins provided in the product template. Keep important text, logos and design elements safely inside the trim line.
- Artwork should be high resolution, set to CMYK and supplied at 300 DPI whenever possible.
- Use C0, M0, Y0, K100 for small black text. For larger areas of deep black, use C30, M20, Y20, K100.
- Convert all fonts to outlines or ensure they are properly embedded in the PDF.
- Review your artwork carefully before uploading. Files are printed using the information provided, and colour may appear differently on screen than it does in print.
To start, select the product size, preview the design guidelines, download the guidelines for reference, and proceed with the customization options.
Panelled Wall Murals (Wall Murals)
Customize & Estimate
Explore Complements
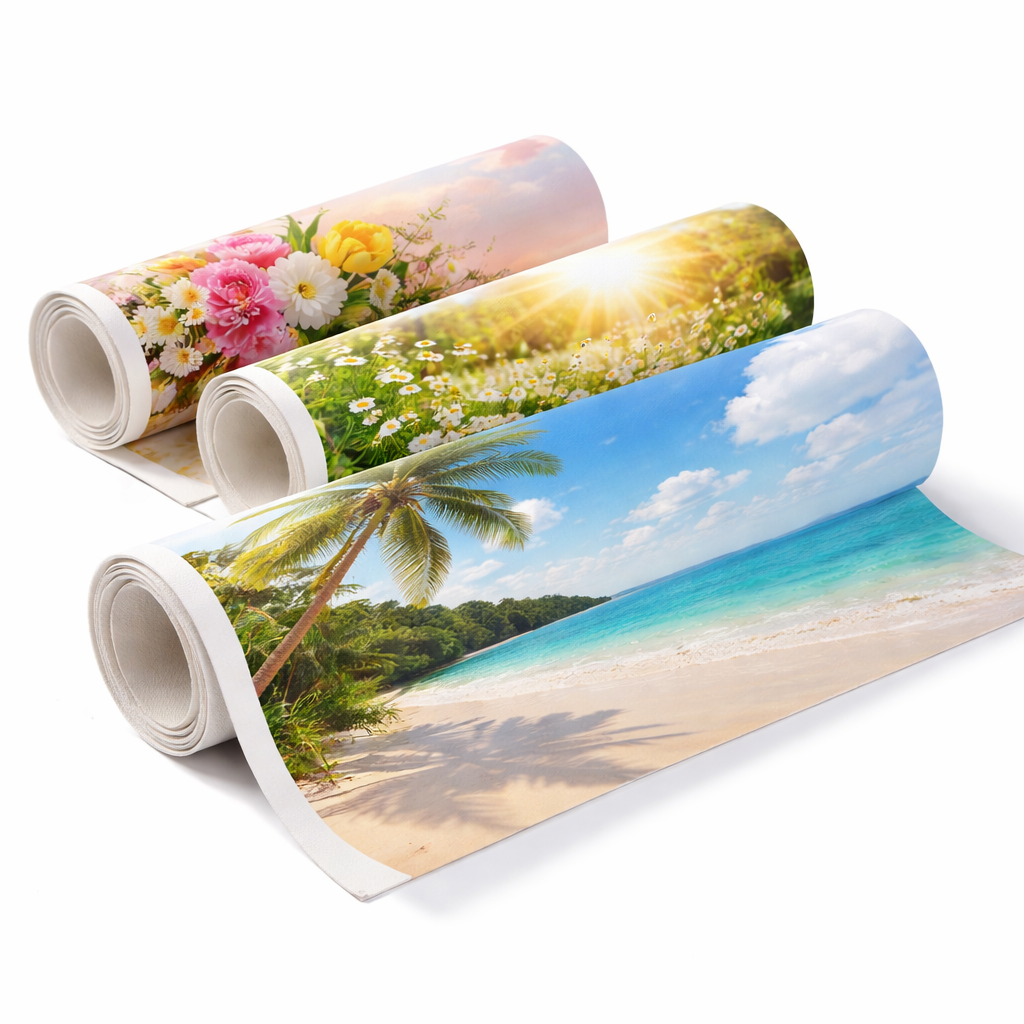
Related products
Enhance your experience with perfectly paired, high-quality related products.


 Issue?