
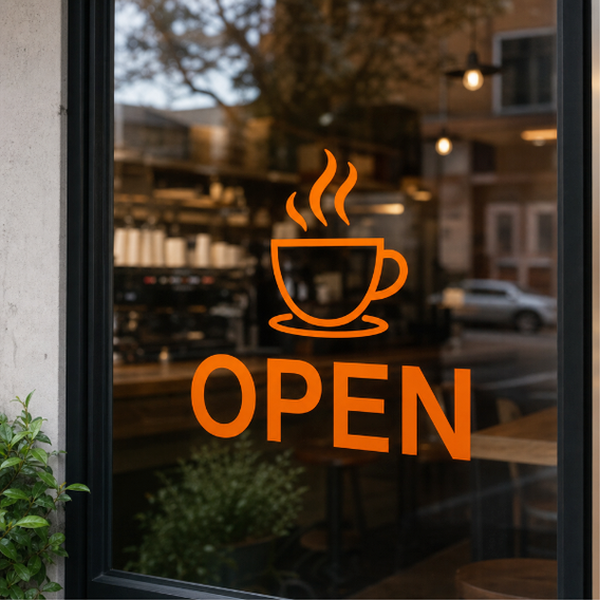
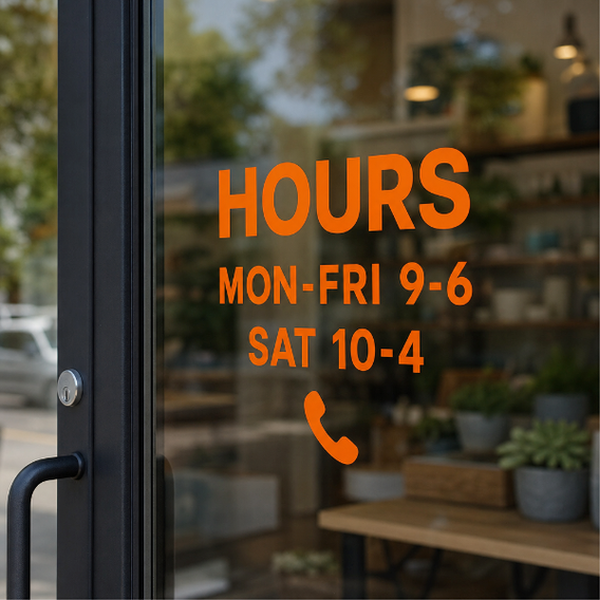
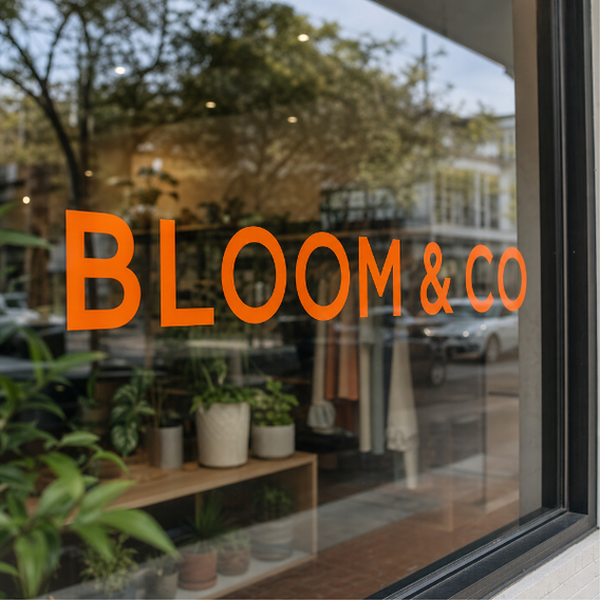
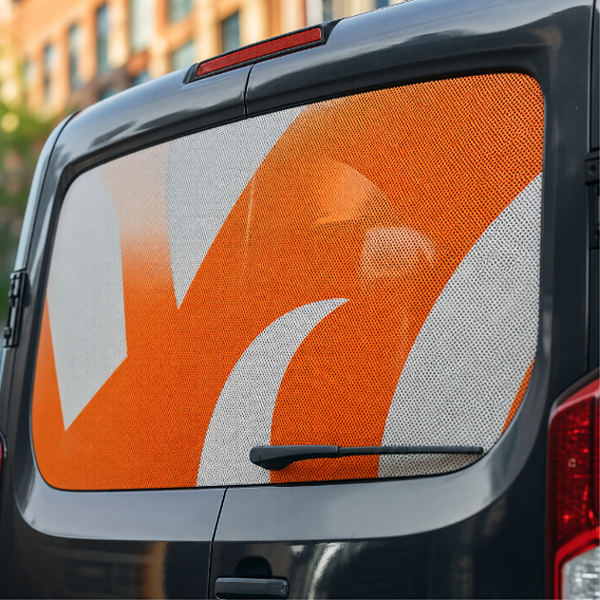
Printed decals for street-facing glass: storefront promotions, service and price lists, seasonal campaigns, branded graphics on entrance doors and display windows. Built for the outside world, whether the film ends up on the outside face of the glass or on the inside reading out through it.
Three films. Clear Spot On and Clear Permanent are clear films — only the ink shows and the window still reads as glass everywhere else. Clear Permanent is the one to pick when the graphic is a fixture: staying up, taking weather, taking shoulders and shopping bags. Clear Spot On is the alternative when the graphic is a campaign rather than a fixture. 3M-IJ175 is the opaque white cast film, for when you want a solid printed panel rather than a see-through graphic, and for outdoor life measured in years.
Reverse Printed matters more here than on any interior job. The artwork is mirrored so the decal can be applied to the inside face of the glass and read correctly from the street. The glass then takes the rain, the frost, the window cleaner and the vandalism, and the print sits behind it untouched. Tell us which face the graphic is going on and we will print it the right way round.
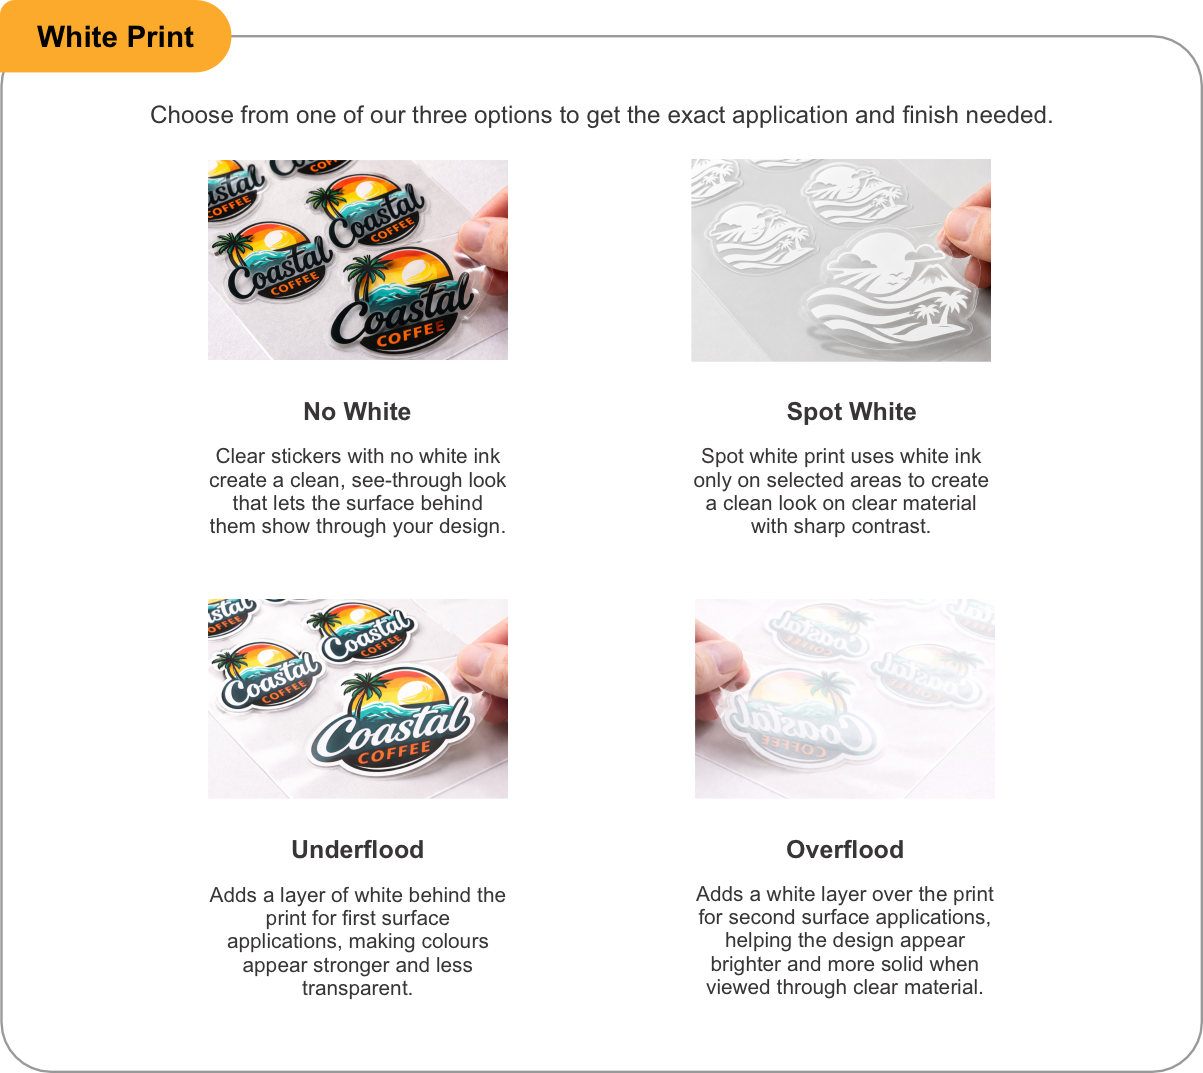
Printed White is what keeps colours honest on a clear film. Against a dark or unlit interior, unbacked colours go transparent and weak; a white ink layer beneath them holds them solid. On a reverse-printed graphic that white layer also becomes the surface the colours are read against, so it is doing two jobs at once.
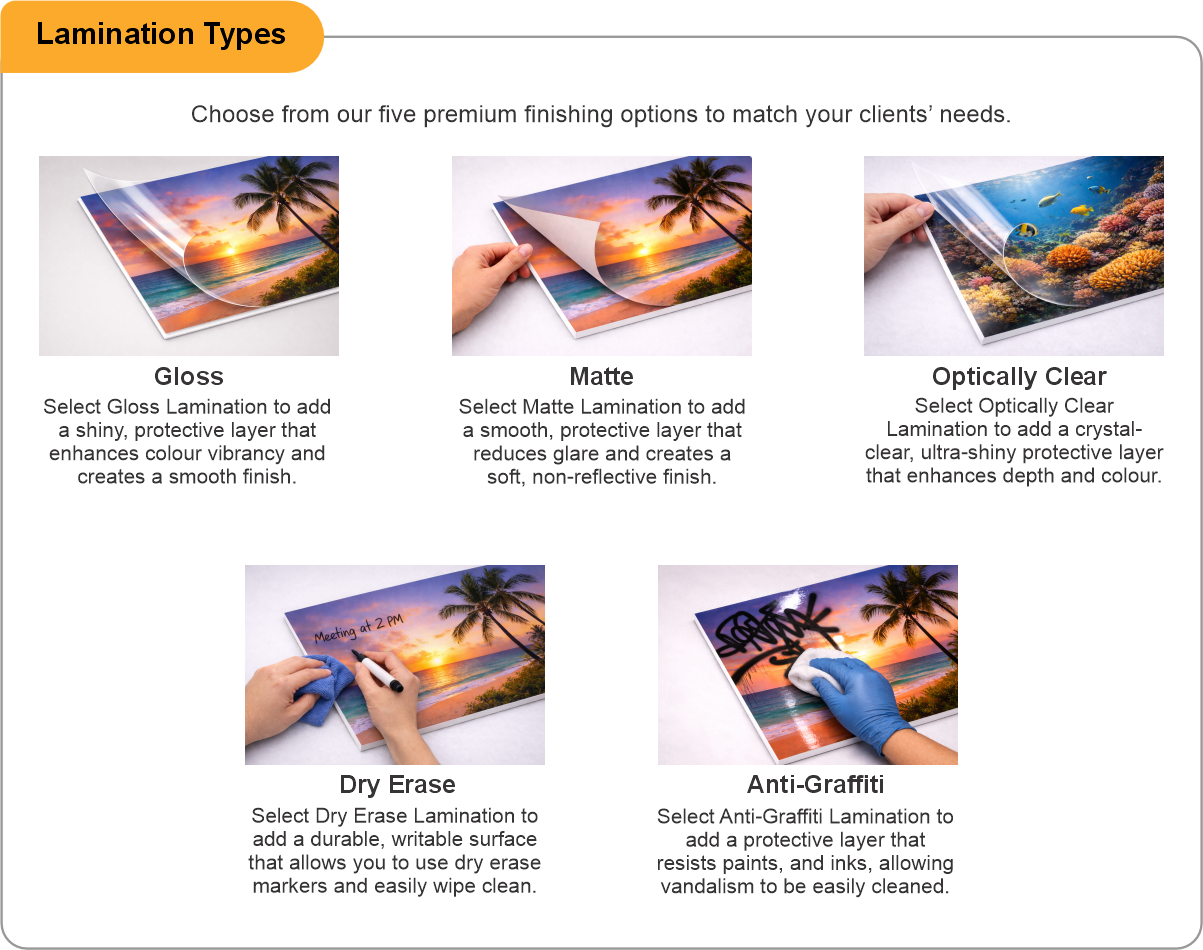
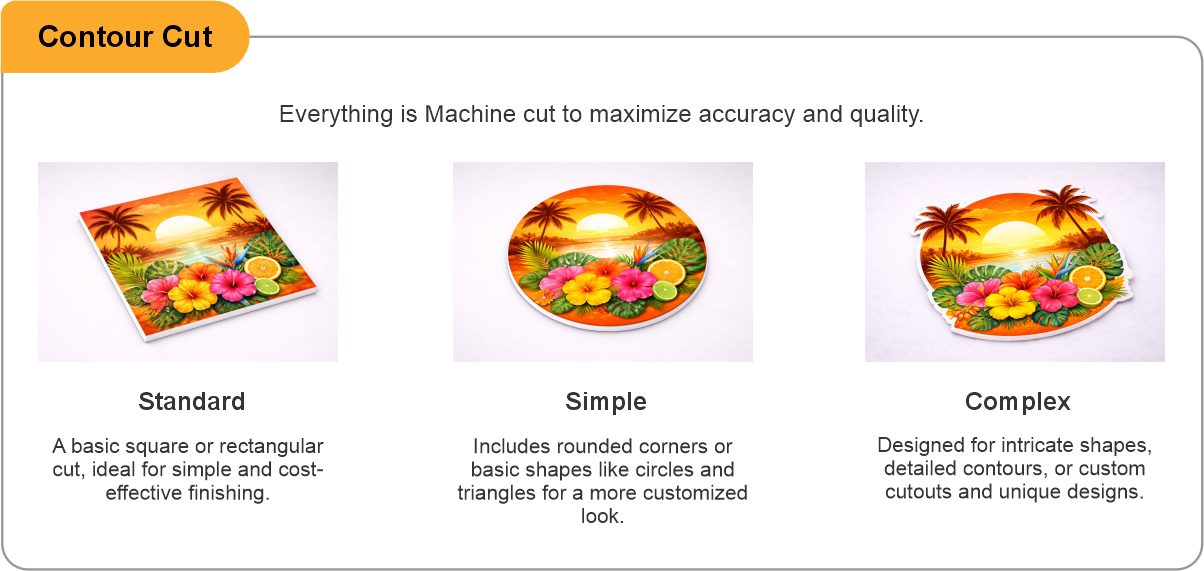
Lamination in gloss, matte, optically clear, dry erase or anti-graffiti is genuinely worth having on a graphic mounted on the outside face — it takes the UV, the abrasion and the cleaning instead of the ink. Contour cut handles shaped graphics and logos. Order by entering the width and height of the glass area to be covered, measuring the visible glass rather than the frame. What arrives is the printed decal itself, cut to the size you ordered on its backing sheet and ready to apply; installation is not included.
Honest limits. Glass must be clean, dry and above roughly 10 degrees Celsius for the adhesive to bond, so a January install may mean warming the pane first. Textured, frosted, leaded and wired glass are poor candidates. South-facing first-surface graphics fade faster than the same file indoors, whatever the laminate. And large, dark, solid graphics on the outside of a sealed double-glazed unit raise the temperature of the outer pane — for full-coverage dark artwork on sealed units, check with your glazier before you order.
- Use the product template or file setup guide when one is provided.
- Remove all hidden layers, guides, dielines or artwork that is not intended to print.
- Submit each project as a single, print-ready PDF. For multi-page files, all pages should be the same size and placed in the correct order.
- Make sure the file dimensions and orientation match the product being ordered.
- Avoid placing borders too close to the finished edge, as minor movement during trimming may make them appear uneven.
- For bleed, follow the margins provided in the product template. Keep important text, logos and design elements safely inside the trim line.
- Artwork should be high resolution, set to CMYK and supplied at 300 DPI whenever possible.
- Use C0, M0, Y0, K100 for small black text. For larger areas of deep black, use C30, M20, Y20, K100.
- Convert all fonts to outlines or ensure they are properly embedded in the PDF.
- Review your artwork carefully before uploading. Files are printed using the information provided, and colour may appear differently on screen than it does in print.
To start, select the product size, preview the design guidelines, download the guidelines for reference, and proceed with the customization options.
Exterior Window Decals (Outdoor)
Customize & Estimate
Explore Complements
Related products
Enhance your experience with perfectly paired, high-quality related products.


 Issue?