
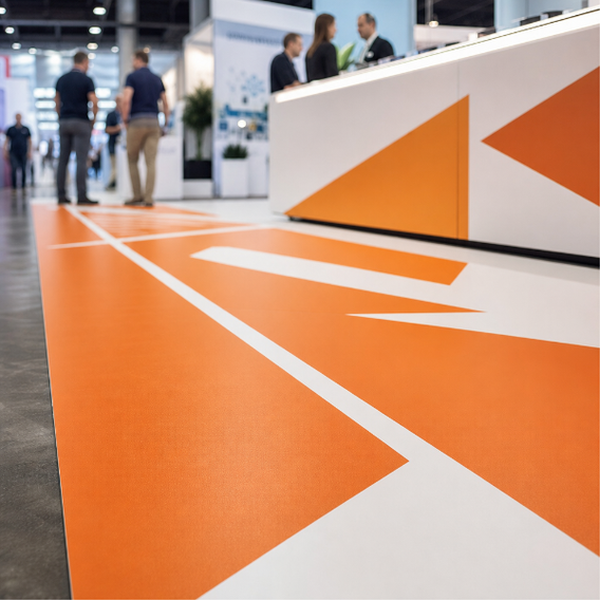
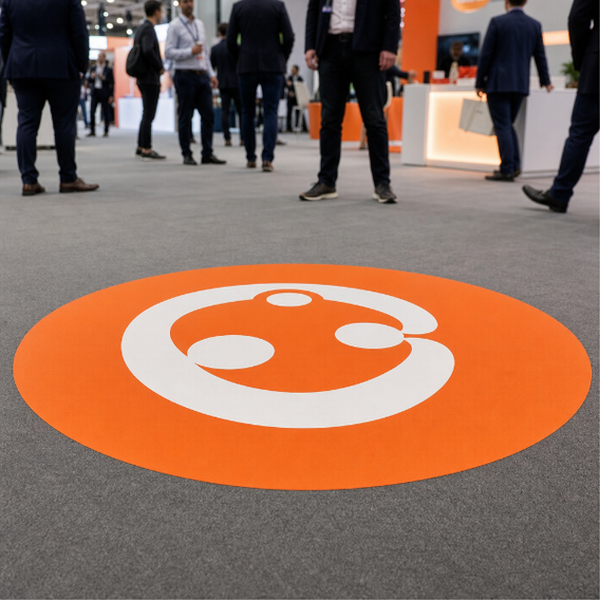
Floor graphics for exhibition stands: mark out your booth footprint, put your brand under visitors' feet as they arrive, run a directional graphic down the aisle toward your space, or label demo zones and meeting areas within a larger stand. On a busy show floor where every stand is competing at eye level, the floor is often the least contested surface in the hall.
One thing to check before you order. A great many exhibition halls are carpeted, either wall to wall or as stand-supplied booth carpet, and adhesive vinyl does not stick to carpet. This product needs a hard floor: the polished or sealed concrete common in convention centre aisles, or a hard stand floor you have specified yourself. Confirm the finish with the venue or your stand builder first, and check the venue rules while you are at it, since some halls restrict adhesives on their floors or charge for removal.
You receive full-colour printed self-adhesive vinyl, cut to the size you supply, on 3M-40C or 3M-IJ175, both opaque white print films for smooth hard surfaces. It is a printed decal, not a floor covering or a mat.
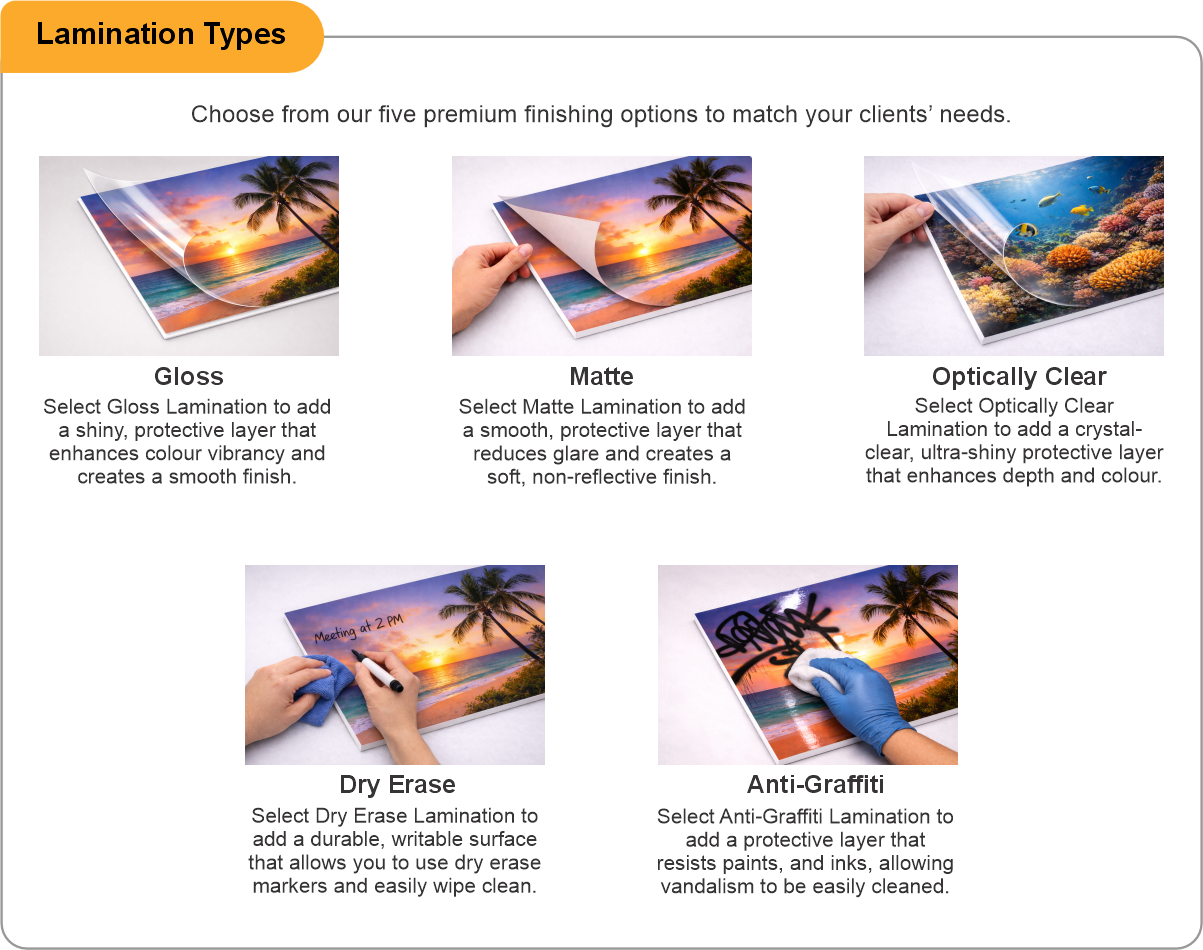
A protective laminate is a good idea for anything longer than a one-day show. Trade show traffic is heavy and dirty, and an unlaminated graphic tends to look tired by the afternoon of day two. Matte cuts the glare from hall lighting in photographs. As everywhere else in this range, the laminate protects the print and carries no certified slip-resistance rating.
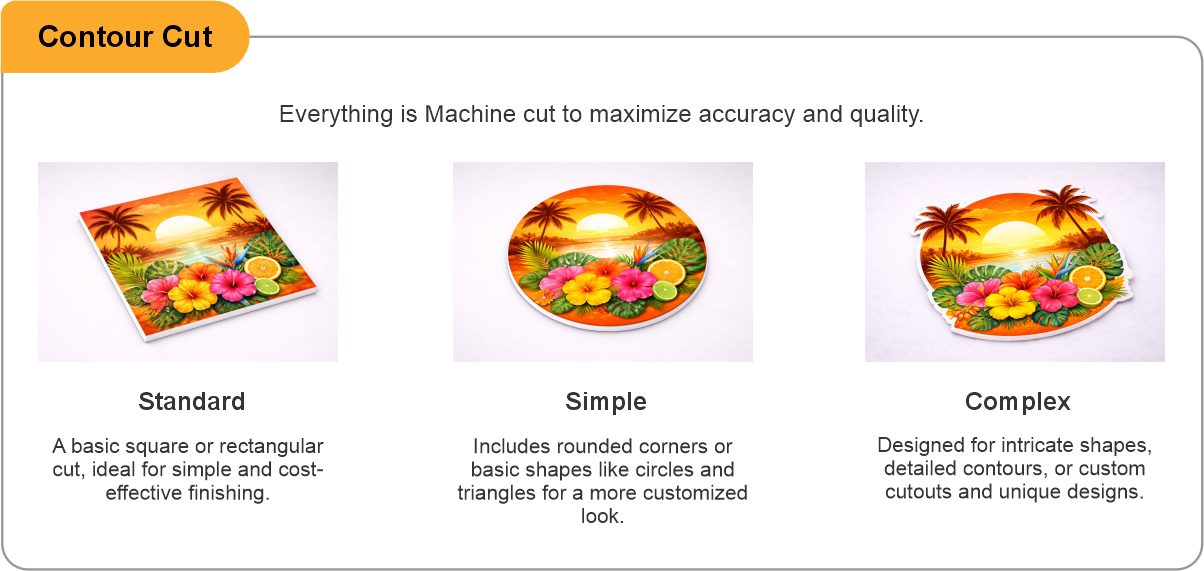
Apply to a clean, dry, smooth floor and take the time to squeegee it down properly, because hall floors are dustier than they look. Plan for removal within your tenancy: the longer it stays down and the warmer the hall, the harder it comes up. Contour cut is available for shaped graphics and logos.
- Use the product template or file setup guide when one is provided.
- Remove all hidden layers, guides, dielines or artwork that is not intended to print.
- Submit each project as a single, print-ready PDF. For multi-page files, all pages should be the same size and placed in the correct order.
- Make sure the file dimensions and orientation match the product being ordered.
- Avoid placing borders too close to the finished edge, as minor movement during trimming may make them appear uneven.
- For bleed, follow the margins provided in the product template. Keep important text, logos and design elements safely inside the trim line.
- Artwork should be high resolution, set to CMYK and supplied at 300 DPI whenever possible.
- Use C0, M0, Y0, K100 for small black text. For larger areas of deep black, use C30, M20, Y20, K100.
- Convert all fonts to outlines or ensure they are properly embedded in the PDF.
- Review your artwork carefully before uploading. Files are printed using the information provided, and colour may appear differently on screen than it does in print.
To start, select the product size, preview the design guidelines, download the guidelines for reference, and proceed with the customization options.
Trade Show Floor Graphics (Event Graphics)
Customize & Estimate
Explore Complements
Related products
Enhance your experience with perfectly paired, high-quality related products.


 Issue?