
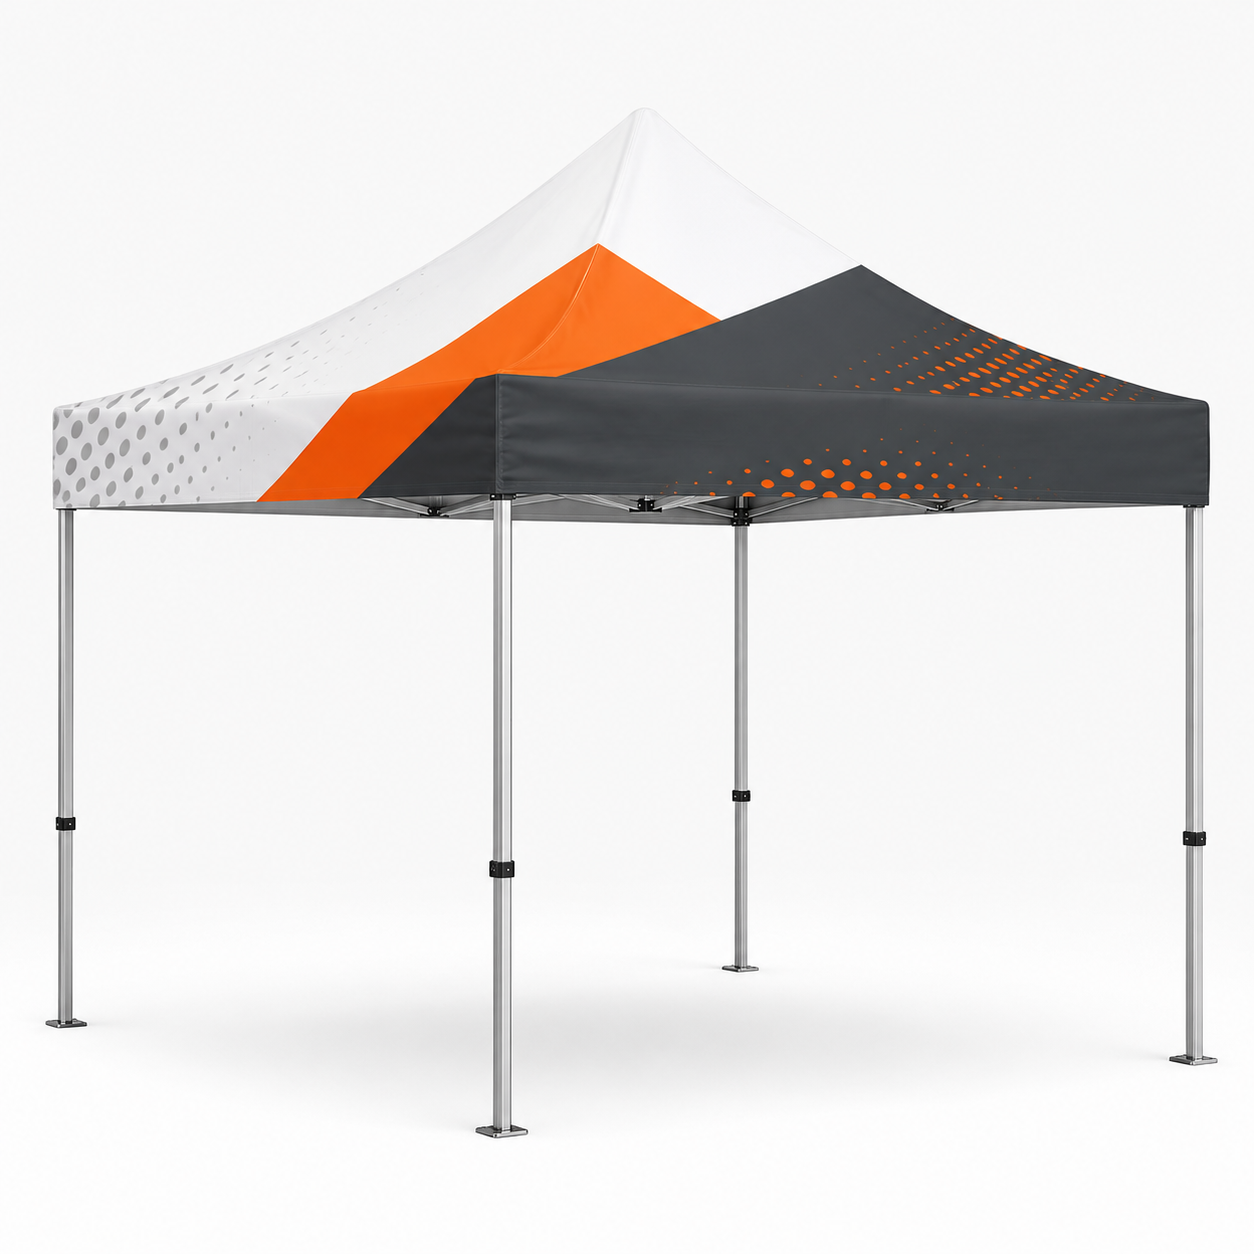
markets, festivals, and outdoor events. Printed on weather-resistant tent fabric and supported by a sturdy, easy-to-assemble frame, these tents are designed for both
portability and performance. From quick setup to long-lasting graphics, custom tents provide shade, shelter, and standout branding wherever your event takes you.
Built for visibility. Designed for impact.
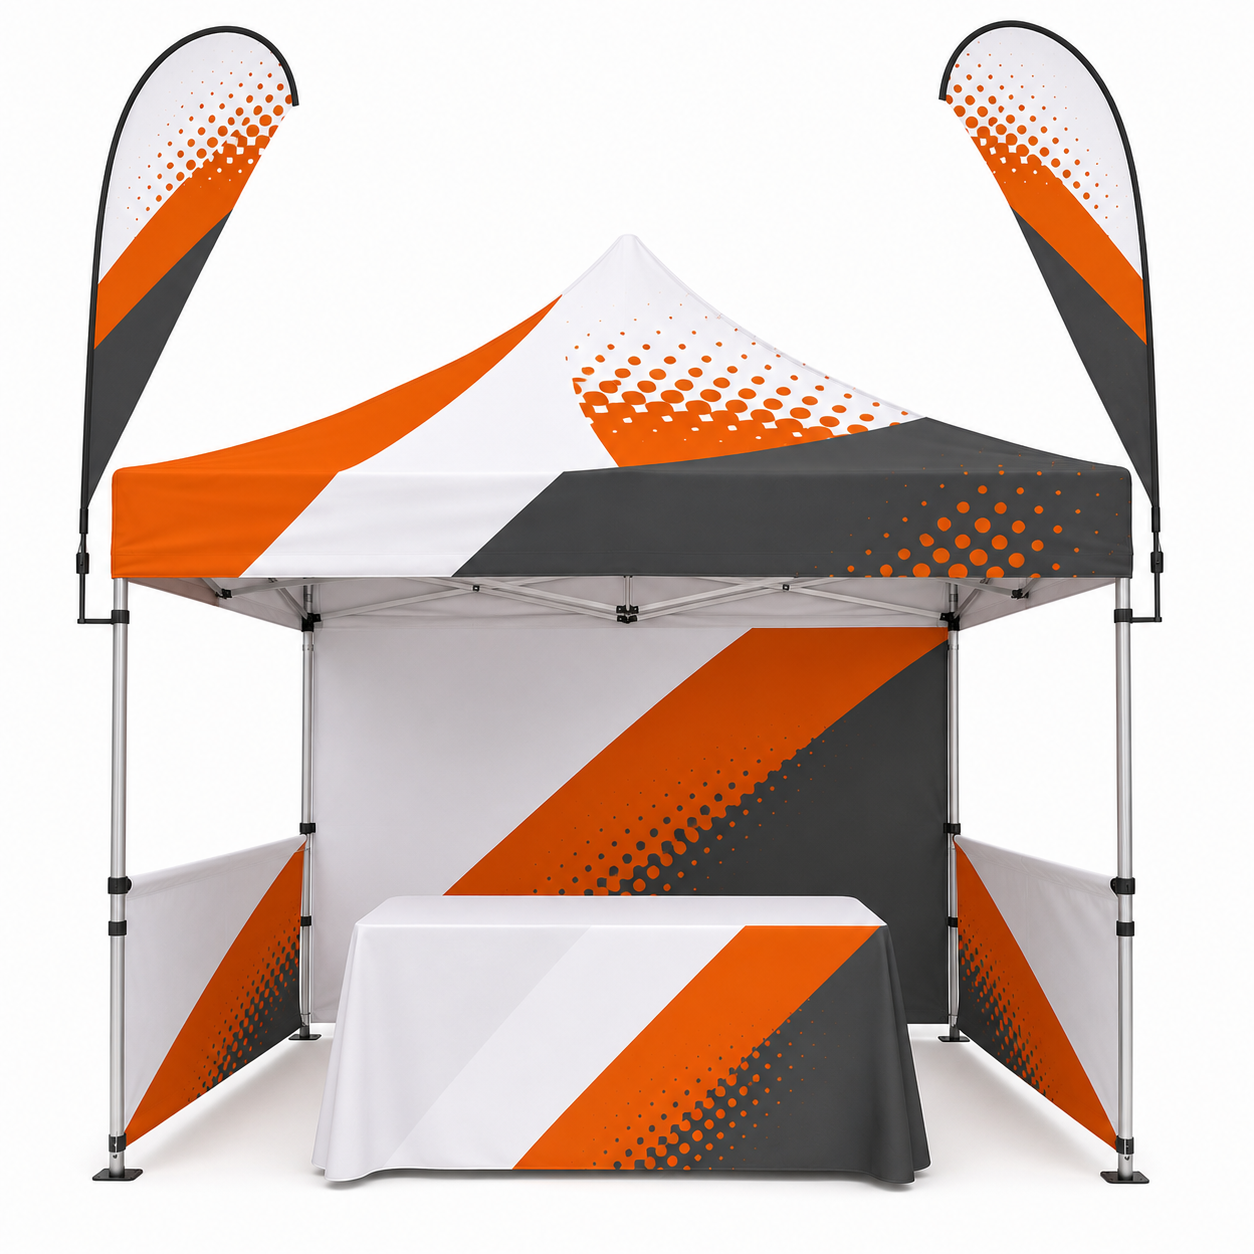
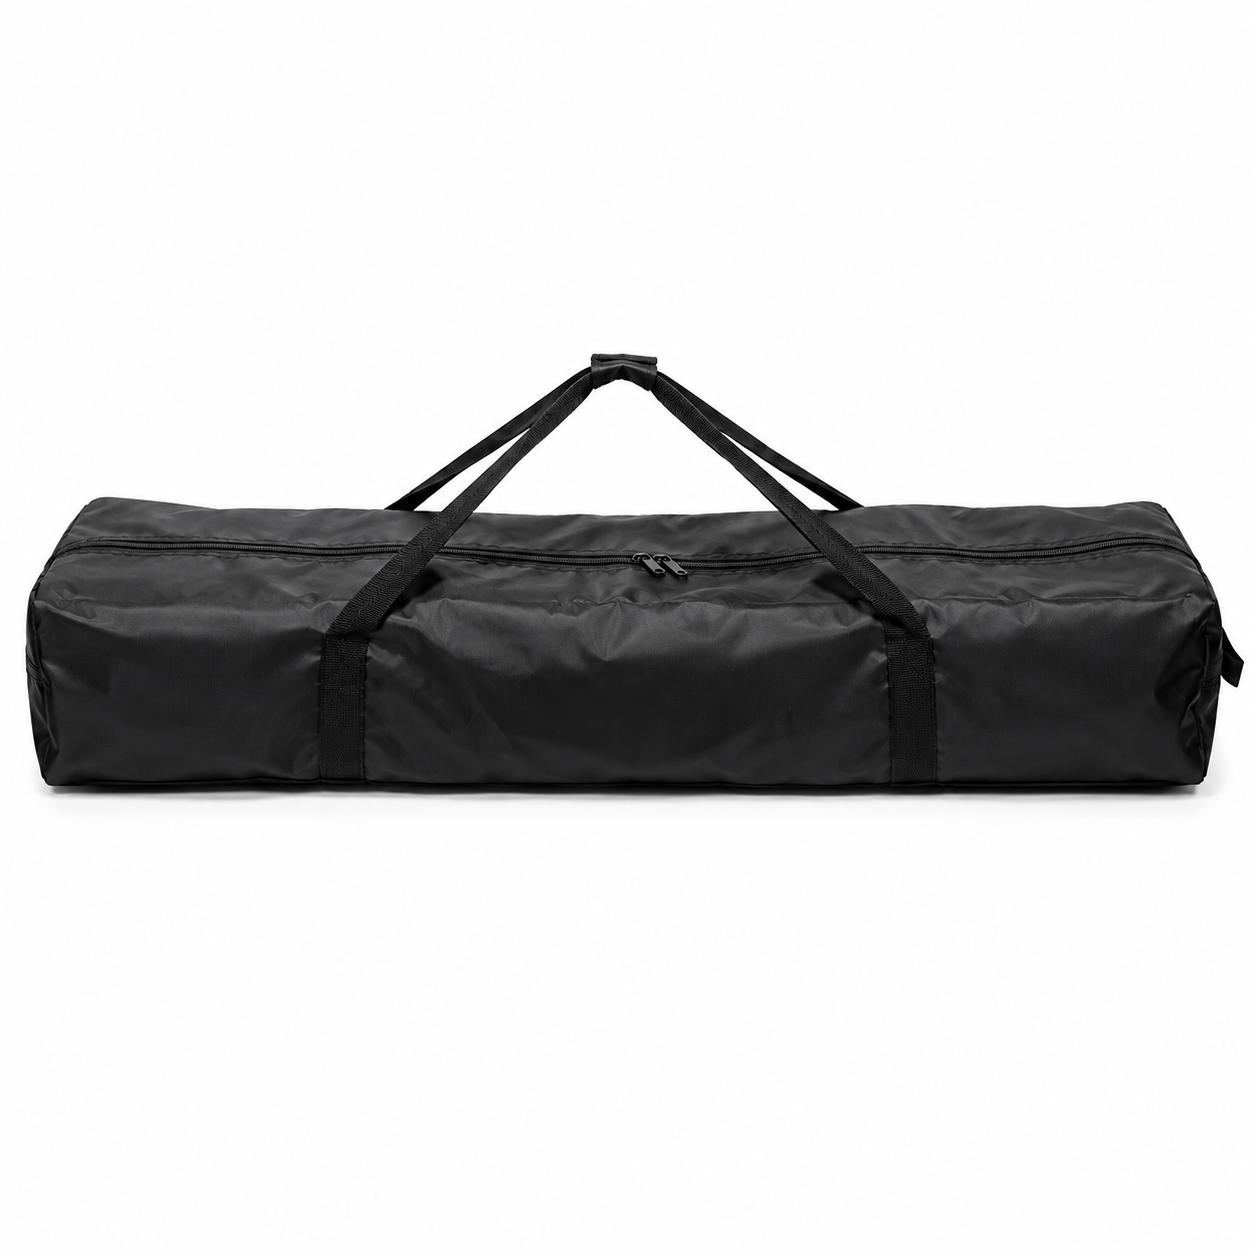
*Tent packages includes canopy, frame, travel case with wheel and rope/peg set. Printed walls not included*
- Use the product template or file setup guide when one is provided.
- Remove all hidden layers, guides, dielines or artwork that is not intended to print.
- Submit each project as a single, print-ready PDF. For multi-page files, all pages should be the same size and placed in the correct order.
- Make sure the file dimensions and orientation match the product being ordered.
- Avoid placing borders too close to the finished edge, as minor movement during trimming may make them appear uneven.
- For bleed, follow the margins provided in the product template. Keep important text, logos and design elements safely inside the trim line.
- Artwork should be high resolution, set to CMYK and supplied at 300 DPI whenever possible.
- Use C0, M0, Y0, K100 for small black text. For larger areas of deep black, use C30, M20, Y20, K100.
- Convert all fonts to outlines or ensure they are properly embedded in the PDF.
- Review your artwork carefully before uploading. Files are printed using the information provided, and colour may appear differently on screen than it does in print.
To start, select the product size, preview the design guidelines, download the guidelines for reference, and proceed with the customization options.
Download Product Guideline
Canopy Tent Package 1 (Tents)
Customize & Estimate
Start Customizing with Any Option
FAQ Section
PREP: Stand the frame up and slightly separate the legs. Then, drape the fabric over the top, securing it at each corner.
EXPAND: Slowly pull the legs of the frame apart at alternating ends of the tent until it is fully extended.
LIFT: Unlock the corner connectors of the frame and lift them until they click into place. Use the crank to raise the canopy's peak.
SECURE: Double-check the corner connectors for stability. In windy conditions, use the ground stakes and rope to add extra stability.
The tent frame weighs 36 lbs., and the polyester custom canopy fabric weighs 8.5 lbs. The total weight of the entire set, including the frame, fabric, stakes, and case, is 51.5 lbs. Your carrying case comes equipped with wheels for easier transportation.
Yes, they do. The sturdy polyester material is not only resistant to rain but also to UV rays. Additionally, we provide metal ground stakes and rope for windy conditions. Simply tie the rope to the stakes and secure it to the tent to prevent it from being blown away by strong winds.
Explore Complements
Related products
Enhance your experience with perfectly paired, high-quality related products.

 Issue?