
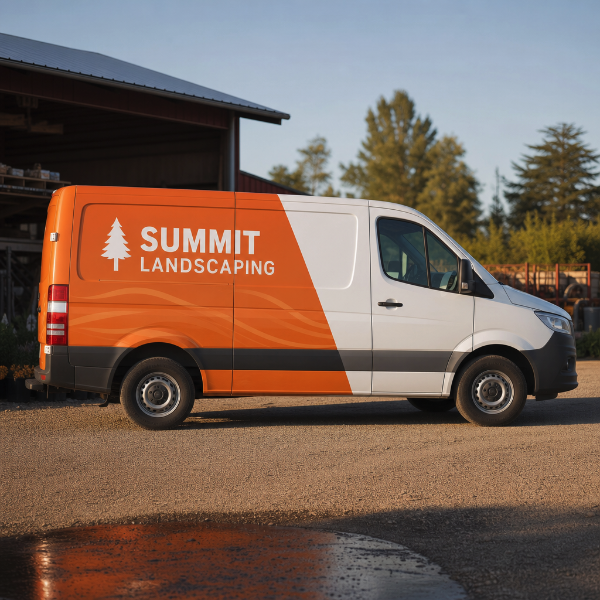
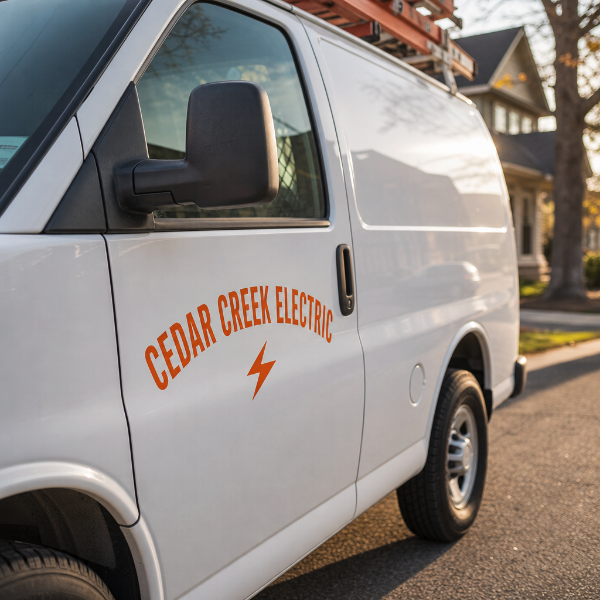
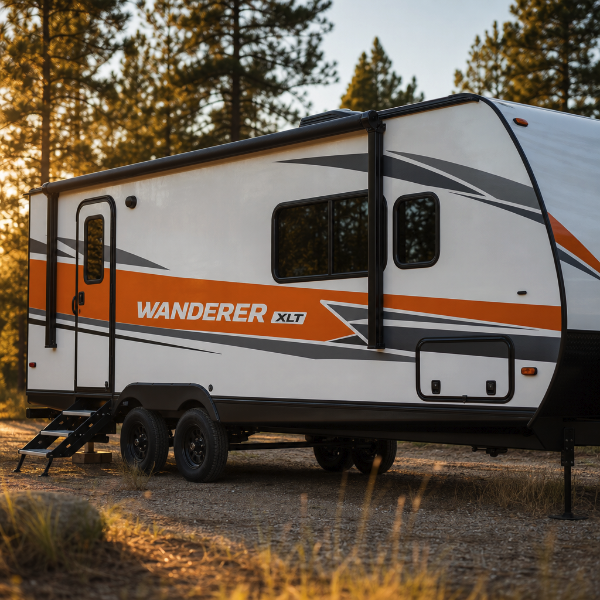
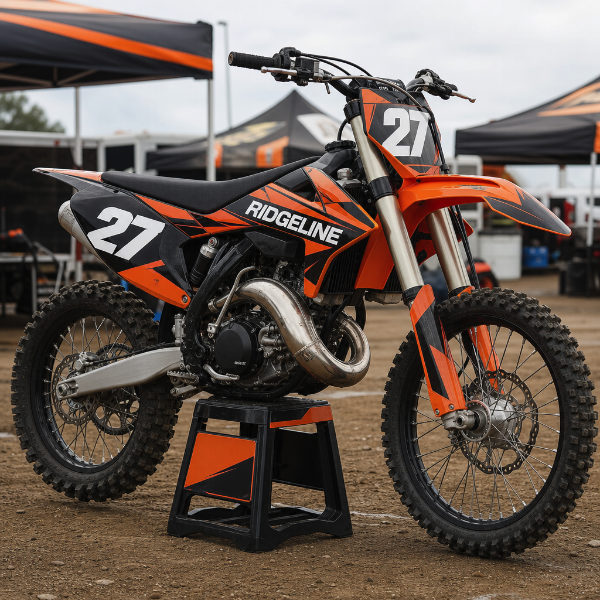
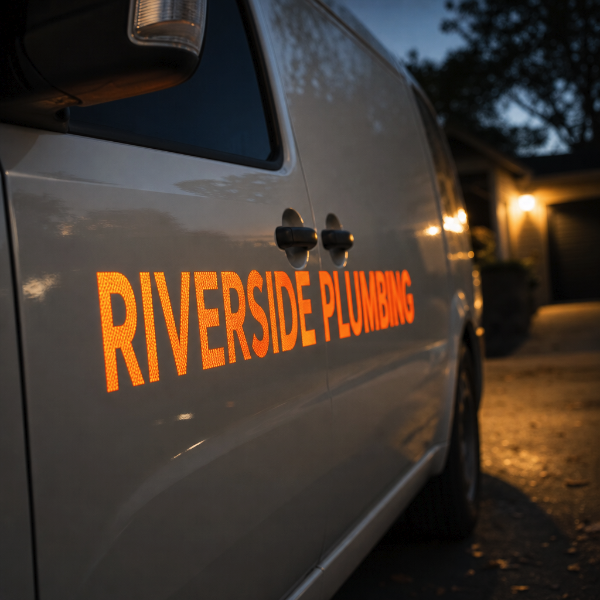
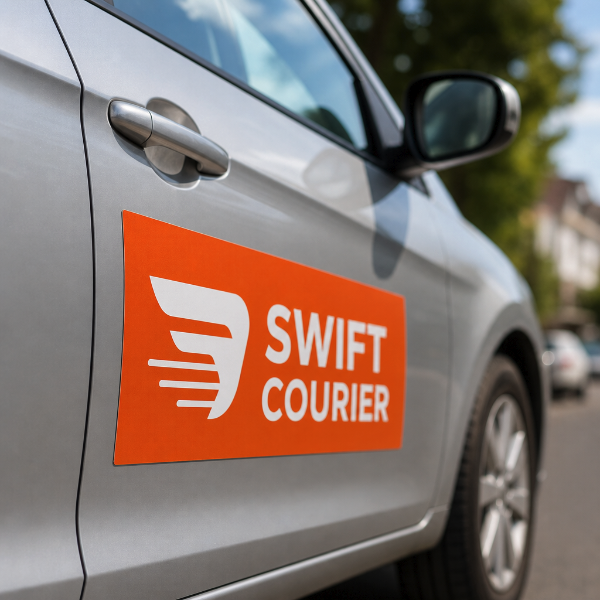
Printed vinyl panels that cover part of a vehicle rather than all of it — a door, a rear quarter, a tailgate, a band running the length of a van flank. A partial wrap carries most of the visual weight of a full wrap for a fraction of the film and a fraction of the fitting time, which is why it is the sensible starting point for a small fleet.
Printed on conformable wrap-grade films — 3M-40C and 3M-IJ175 — chosen because they stretch and settle over curves, body lines, shallow recesses and rivets instead of bridging them and lifting later. Both are rated for outdoor vehicle use and are designed to come off cleanly at the end of their life without taking factory paint with them.
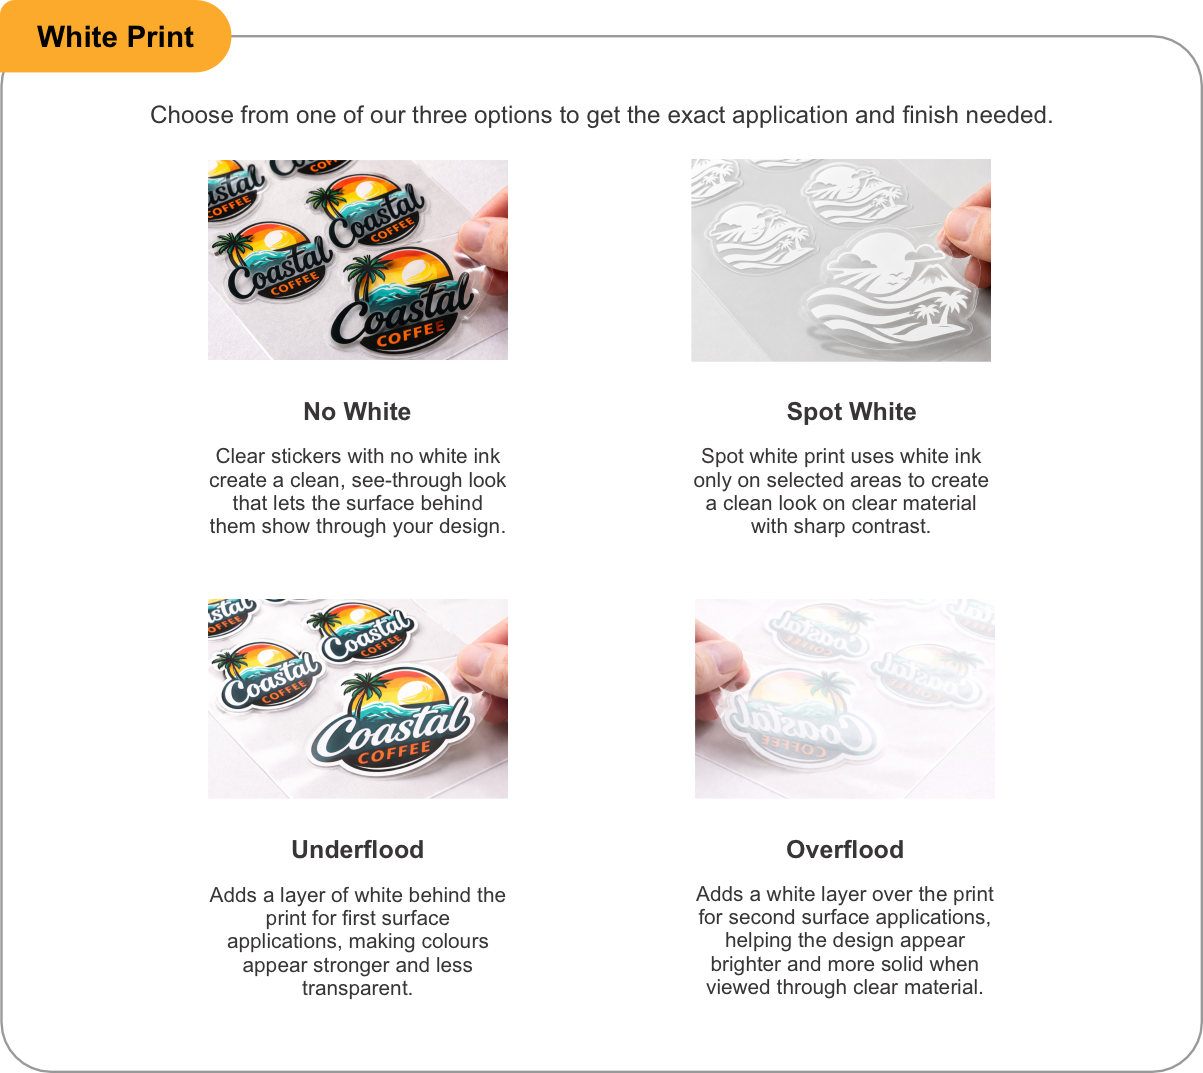
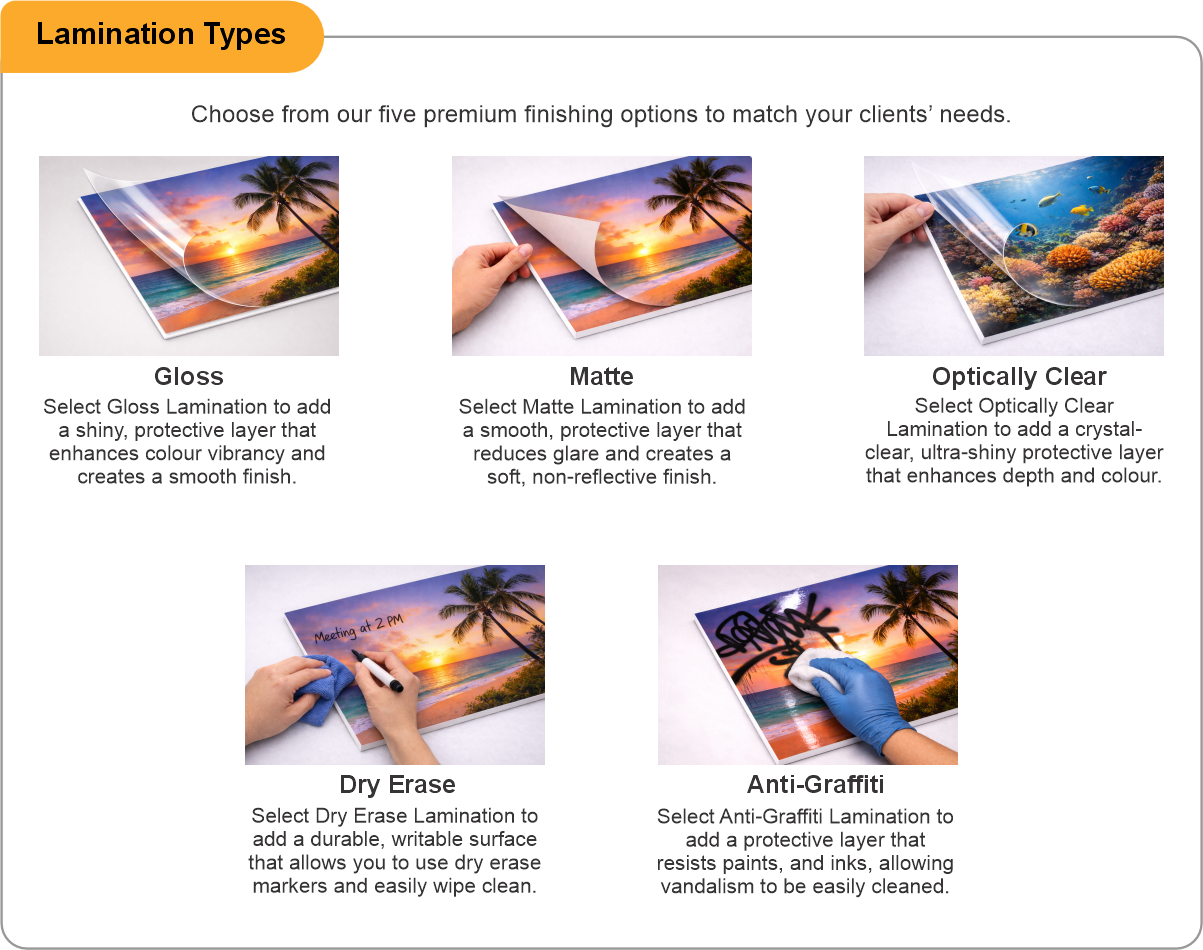
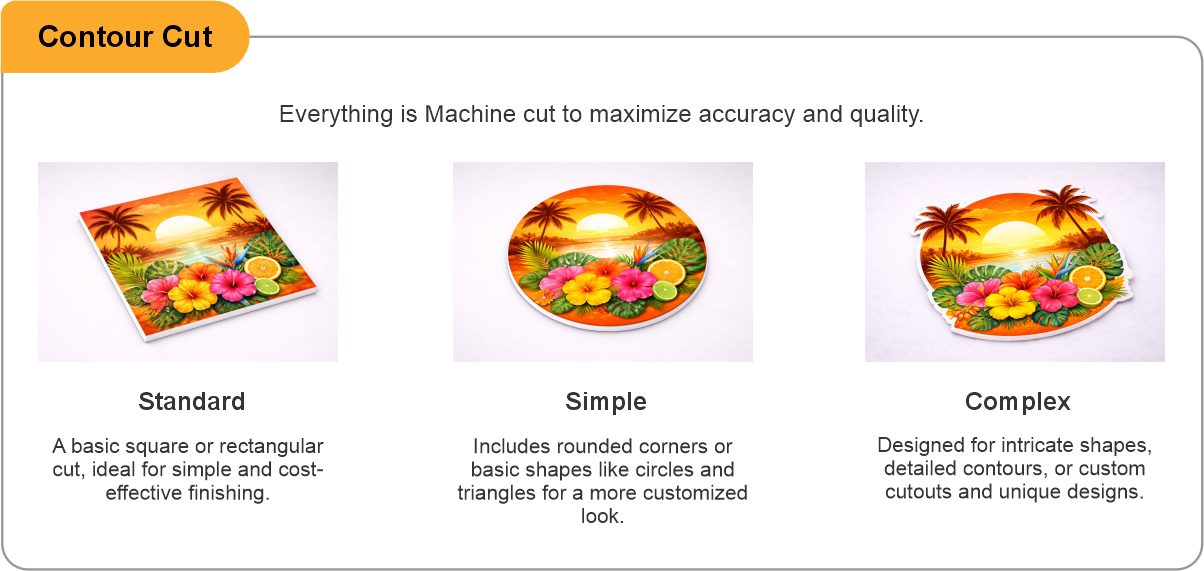
You receive finished printed panels on a roll, cut to the outline you supply and ready to fit. Choose contour cut so each panel arrives as its own shape rather than on a rectangle, and add lamination — gloss, matte or anti-graffiti — on any vehicle that gets pressure washed, fuelled or driven through winter salt.
Measure the panel on the actual vehicle before you order, not from a spec sheet, and add roughly two inches of bleed on every edge so the film can be wrapped around returns and into channels. Supply vector artwork or raster at full size, and keep logos and text clear of door handles, fuel flaps and deep body creases where the film has to distort most.
- Use the product template or file setup guide when one is provided.
- Remove all hidden layers, guides, dielines or artwork that is not intended to print.
- Submit each project as a single, print-ready PDF. For multi-page files, all pages should be the same size and placed in the correct order.
- Make sure the file dimensions and orientation match the product being ordered.
- Avoid placing borders too close to the finished edge, as minor movement during trimming may make them appear uneven.
- For bleed, follow the margins provided in the product template. Keep important text, logos and design elements safely inside the trim line.
- Artwork should be high resolution, set to CMYK and supplied at 300 DPI whenever possible.
- Use C0, M0, Y0, K100 for small black text. For larger areas of deep black, use C30, M20, Y20, K100.
- Convert all fonts to outlines or ensure they are properly embedded in the PDF.
- Review your artwork carefully before uploading. Files are printed using the information provided, and colour may appear differently on screen than it does in print.
To start, select the product size, preview the design guidelines, download the guidelines for reference, and proceed with the customization options.
Partial Wrap Panels (Business Graphics)
Customize & Estimate
Explore Complements
Related products
Enhance your experience with perfectly paired, high-quality related products.

 Issue?