
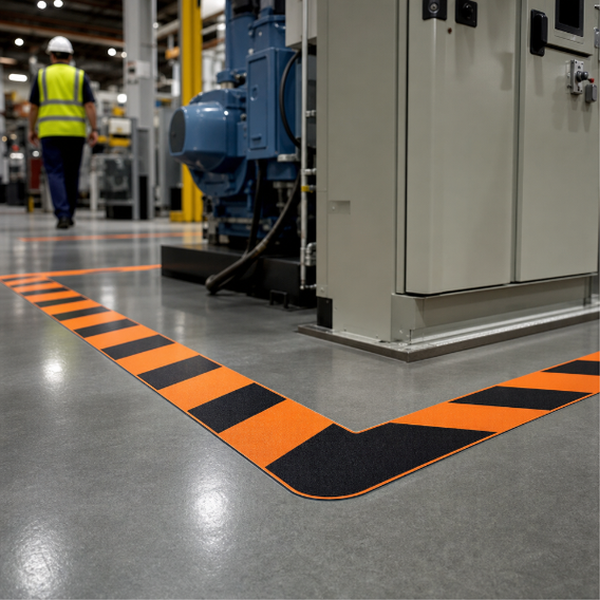
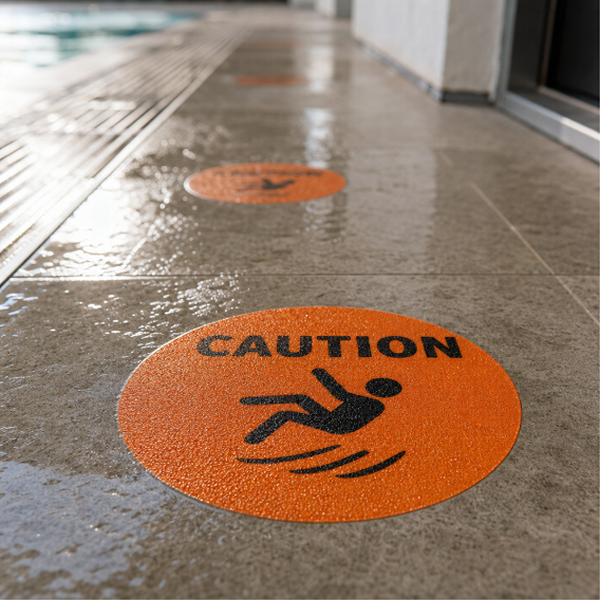
Floor markings that flag a hazard at the point where somebody meets it: forklift crossings, pinch points, keep-clear zones in front of electrical panels and fire exits, mind-the-step, low headroom, hot surfaces, restricted areas. Printed to your own wording and pictograms so they match the rest of your site signage rather than fighting with it.
Printed on self-adhesive vinyl, either 3M-40C or 3M-IJ175, both opaque white print films for smooth hard surfaces, and cut to the size you specify. This is a printed adhesive decal, not a purpose-made floor film with a textured slip-resistant surface. It is also not a certified or approved safety sign in its own right, so where a regulation, a standard or your insurer specifies a particular format, colour or rating, check your artwork against that requirement before ordering.
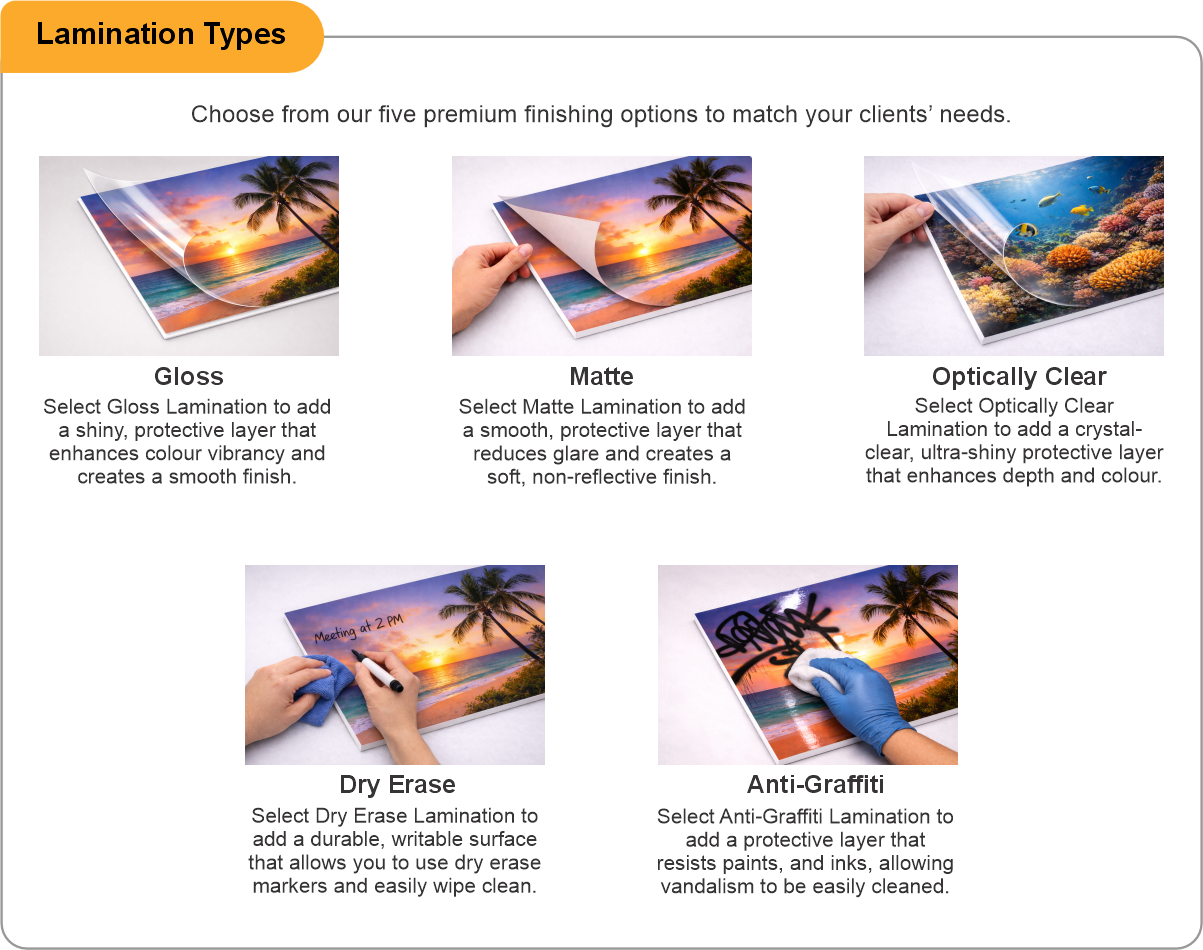
A protective laminate matters more here than on a decorative graphic, because a hazard marker that has scuffed illegible is worse than no marker at all. A gloss, matte or anti-graffiti laminate keeps the print readable through traffic and cleaning. It does not, however, provide any certified slip resistance: the laminate protects the ink, it does not alter the grip of the floor underneath it.
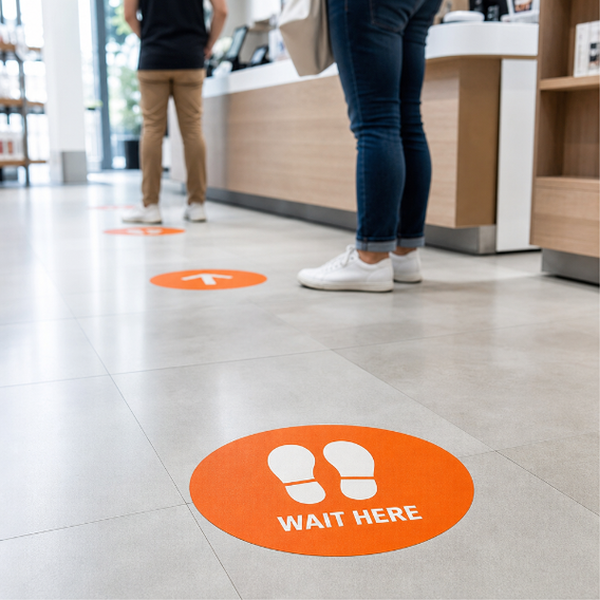
Use on smooth, sealed, dry indoor floors such as polished concrete, VCT, tile and terrazzo. Not carpet, not rough broom-finished concrete, not asphalt, not wet or dusty areas. Inspect them on a schedule, because in a busy plant these are consumables, and a hazard marking that has lifted at one corner has become a trip hazard of its own.
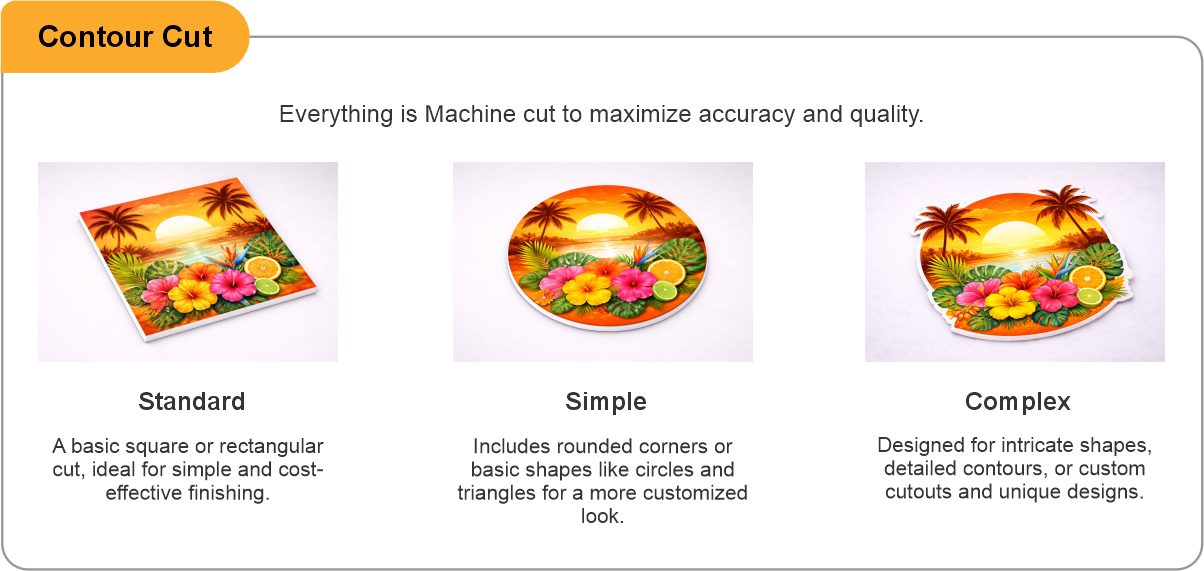
Contour cut is available for triangles, diamonds, chevrons and other standard hazard shapes.
- Use the product template or file setup guide when one is provided.
- Remove all hidden layers, guides, dielines or artwork that is not intended to print.
- Submit each project as a single, print-ready PDF. For multi-page files, all pages should be the same size and placed in the correct order.
- Make sure the file dimensions and orientation match the product being ordered.
- Avoid placing borders too close to the finished edge, as minor movement during trimming may make them appear uneven.
- For bleed, follow the margins provided in the product template. Keep important text, logos and design elements safely inside the trim line.
- Artwork should be high resolution, set to CMYK and supplied at 300 DPI whenever possible.
- Use C0, M0, Y0, K100 for small black text. For larger areas of deep black, use C30, M20, Y20, K100.
- Convert all fonts to outlines or ensure they are properly embedded in the PDF.
- Review your artwork carefully before uploading. Files are printed using the information provided, and colour may appear differently on screen than it does in print.
To start, select the product size, preview the design guidelines, download the guidelines for reference, and proceed with the customization options.
Hazard & Caution Markers (Safety Graphics)
Customize & Estimate
Explore Complements
Related products
Enhance your experience with perfectly paired, high-quality related products.



 Issue?