
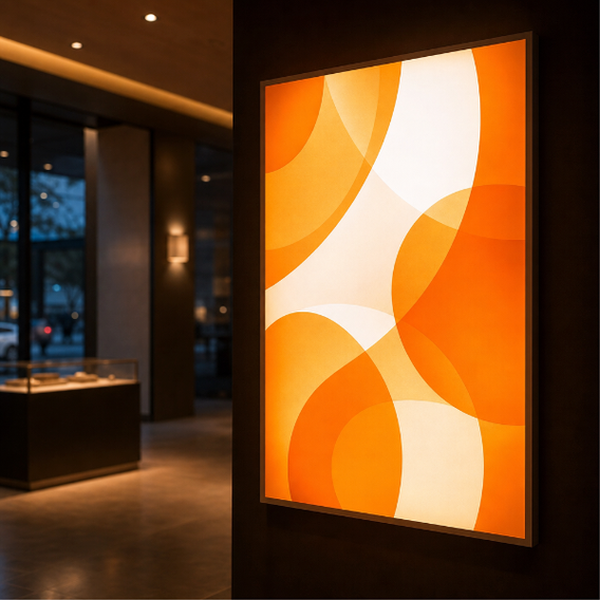
Printed film for signs that are lit from behind rather than from the front: lightboxes, illuminated menu boards, backlit fascia panels, exhibition light panels and any glazed box with lamps or LEDs inside it.
What you are buying is the printed film only. This is a self-adhesive Translucent vinyl that you apply to the face of the lightbox glazing or to a diffuser panel you already have. It is not a rigid backlit panel, it is not a photographic transparency, and it does not come with a box, a frame or lighting. Measure the visible aperture of your panel, add whatever the frame overlaps, and order that size. What arrives is the printed film cut to that size on its backing sheet, ready to apply; installation is not included.
The film is made to diffuse transmitted light, so colours light up evenly across the panel instead of showing you where the lamps are. Judge the artwork lit — unlit and off the box it reads as a slightly milky print, which is normal and is not how the customer will ever see it.
Artwork for a backlit panel wants more weight than the same design would need on paper. Light coming through thins colour out: pale tints wash toward white, mid-tones lift, and fine reversed-out type closes up and glares. Build the file heavier and more contrasty than looks right on a monitor, keep text solid rather than tinted, and avoid delicate hairlines. If you have a proof print of the same artwork, do not use it as your colour reference — a lit panel is a different animal.
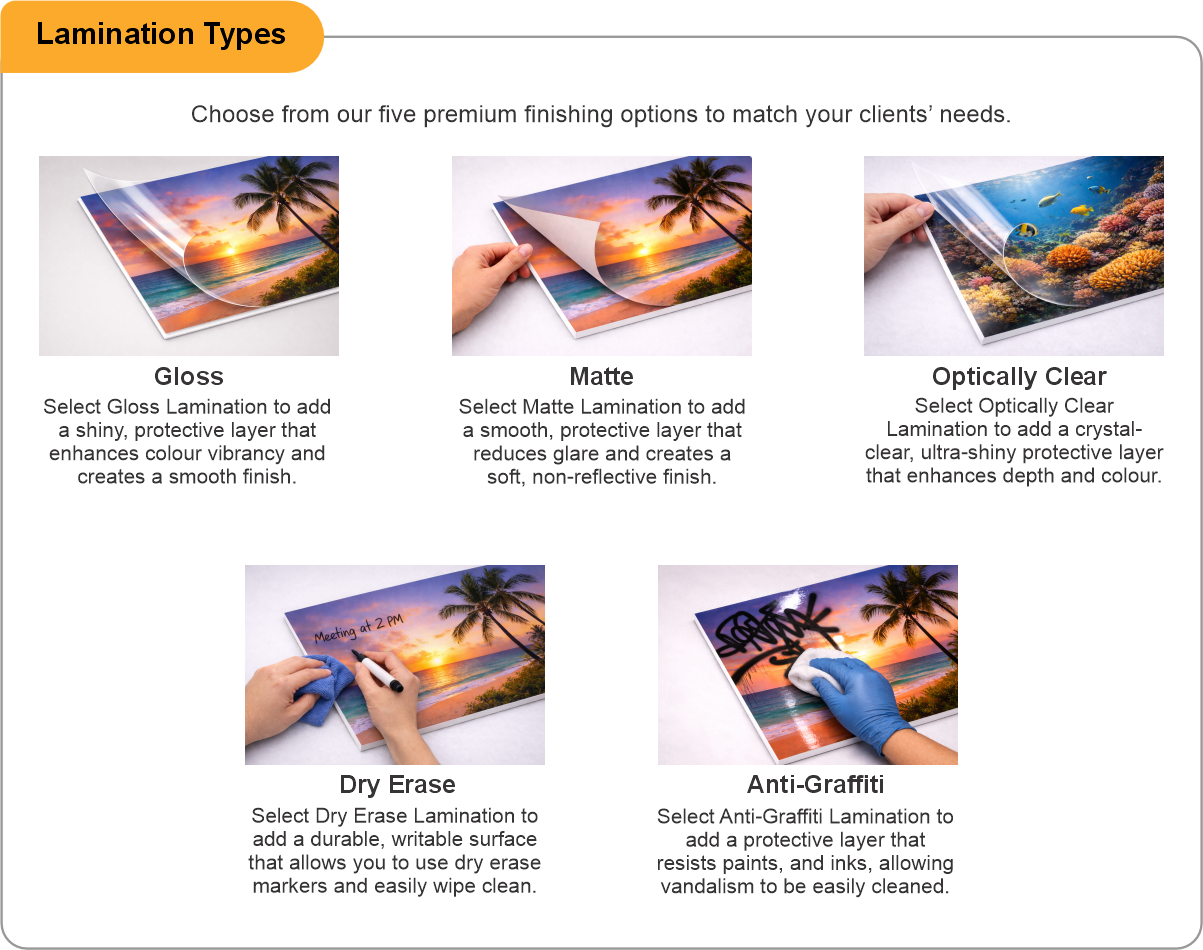
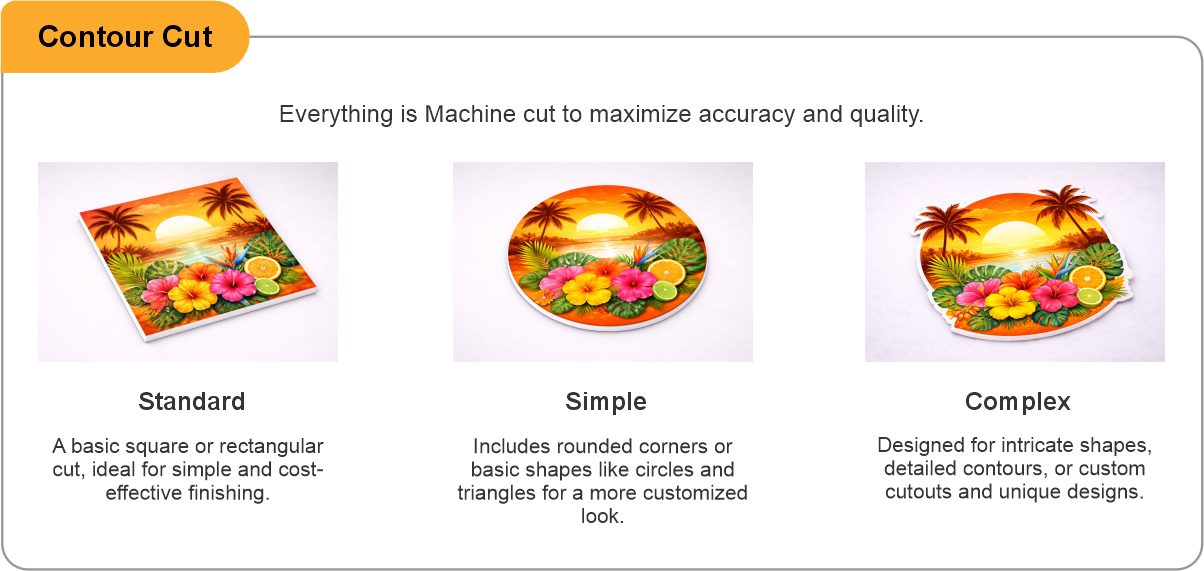
Lamination is offered in gloss, matte, optically clear, dry erase or anti-graffiti, and contour cut is available for panels that are not rectangles. A word of caution on laminate: every extra layer sits between the light and the eye, so leave it off unless the face is going to be touched or scrubbed. Where it earns its place is a glossy box face in a bright room, where a matte laminate kills the reflections that otherwise compete with the illumination.
The limit on a backlit graphic is almost never the film — it is the box. A panel with hot spots, uneven lamp spacing or too little depth behind the diffuser will show that through any film, and no amount of print density hides it. If your box is shallow with widely spaced LEDs, expect some banding. On an outdoor box, apply to the inner face wherever the construction allows.
- Use the product template or file setup guide when one is provided.
- Remove all hidden layers, guides, dielines or artwork that is not intended to print.
- Submit each project as a single, print-ready PDF. For multi-page files, all pages should be the same size and placed in the correct order.
- Make sure the file dimensions and orientation match the product being ordered.
- Avoid placing borders too close to the finished edge, as minor movement during trimming may make them appear uneven.
- For bleed, follow the margins provided in the product template. Keep important text, logos and design elements safely inside the trim line.
- Artwork should be high resolution, set to CMYK and supplied at 300 DPI whenever possible.
- Use C0, M0, Y0, K100 for small black text. For larger areas of deep black, use C30, M20, Y20, K100.
- Convert all fonts to outlines or ensure they are properly embedded in the PDF.
- Review your artwork carefully before uploading. Files are printed using the information provided, and colour may appear differently on screen than it does in print.
To start, select the product size, preview the design guidelines, download the guidelines for reference, and proceed with the customization options.
Translucent Backlit Film (Indoor)
Customize & Estimate
Explore Complements
Related products
Enhance your experience with perfectly paired, high-quality related products.


 Issue?